Published Nov 20, 2024
API Management: The Design Phase

Implementing a well-defined API management strategy provides modern businesses with significant advantages. At a high level, understanding the API management lifecycle provides valuable guidance for designing, deploying, and managing secure APIs that align with your business needs and the expectations of API consumers.
For example, an ecommerce company like ACME Chocolatiers could use Celigo to expose APIs for inventory management, order processing, packaging, and shipment, enabling external partners and customers to seamlessly interact with their internal systems and support their digital transformation efforts.
The 4 phases of the API Management Lifecycle are:
Here, we’ll explore how the design phase streamlines the creation of backend API services, making them easily consumable and manageable.
The design phase in API Management plays a pivotal role in enabling businesses to create and expose backend services efficiently. Using Celigo’s API Management, developers can easily design and publish APIs, transforming complex data and system integrations into secure, managed APIs.
The design phase: API Management video overview
Building API services
The design phase simplifies the API creation process, offering a user-friendly interface to build backend services that access and work with the data and processes in your business systems. In Celigo, this is achieved by building your business logic by leveraging any of our 450+ prebuilt applications and data connectors.
These connectors streamline your ability to retrieve data from an application (an “export”) or write data into an application (an “import”). These connectors can be combined in Celigo with powerful JavaScript-based functions (called “MyAPIs”) to implement more robust business functions.
1. Creating an Export
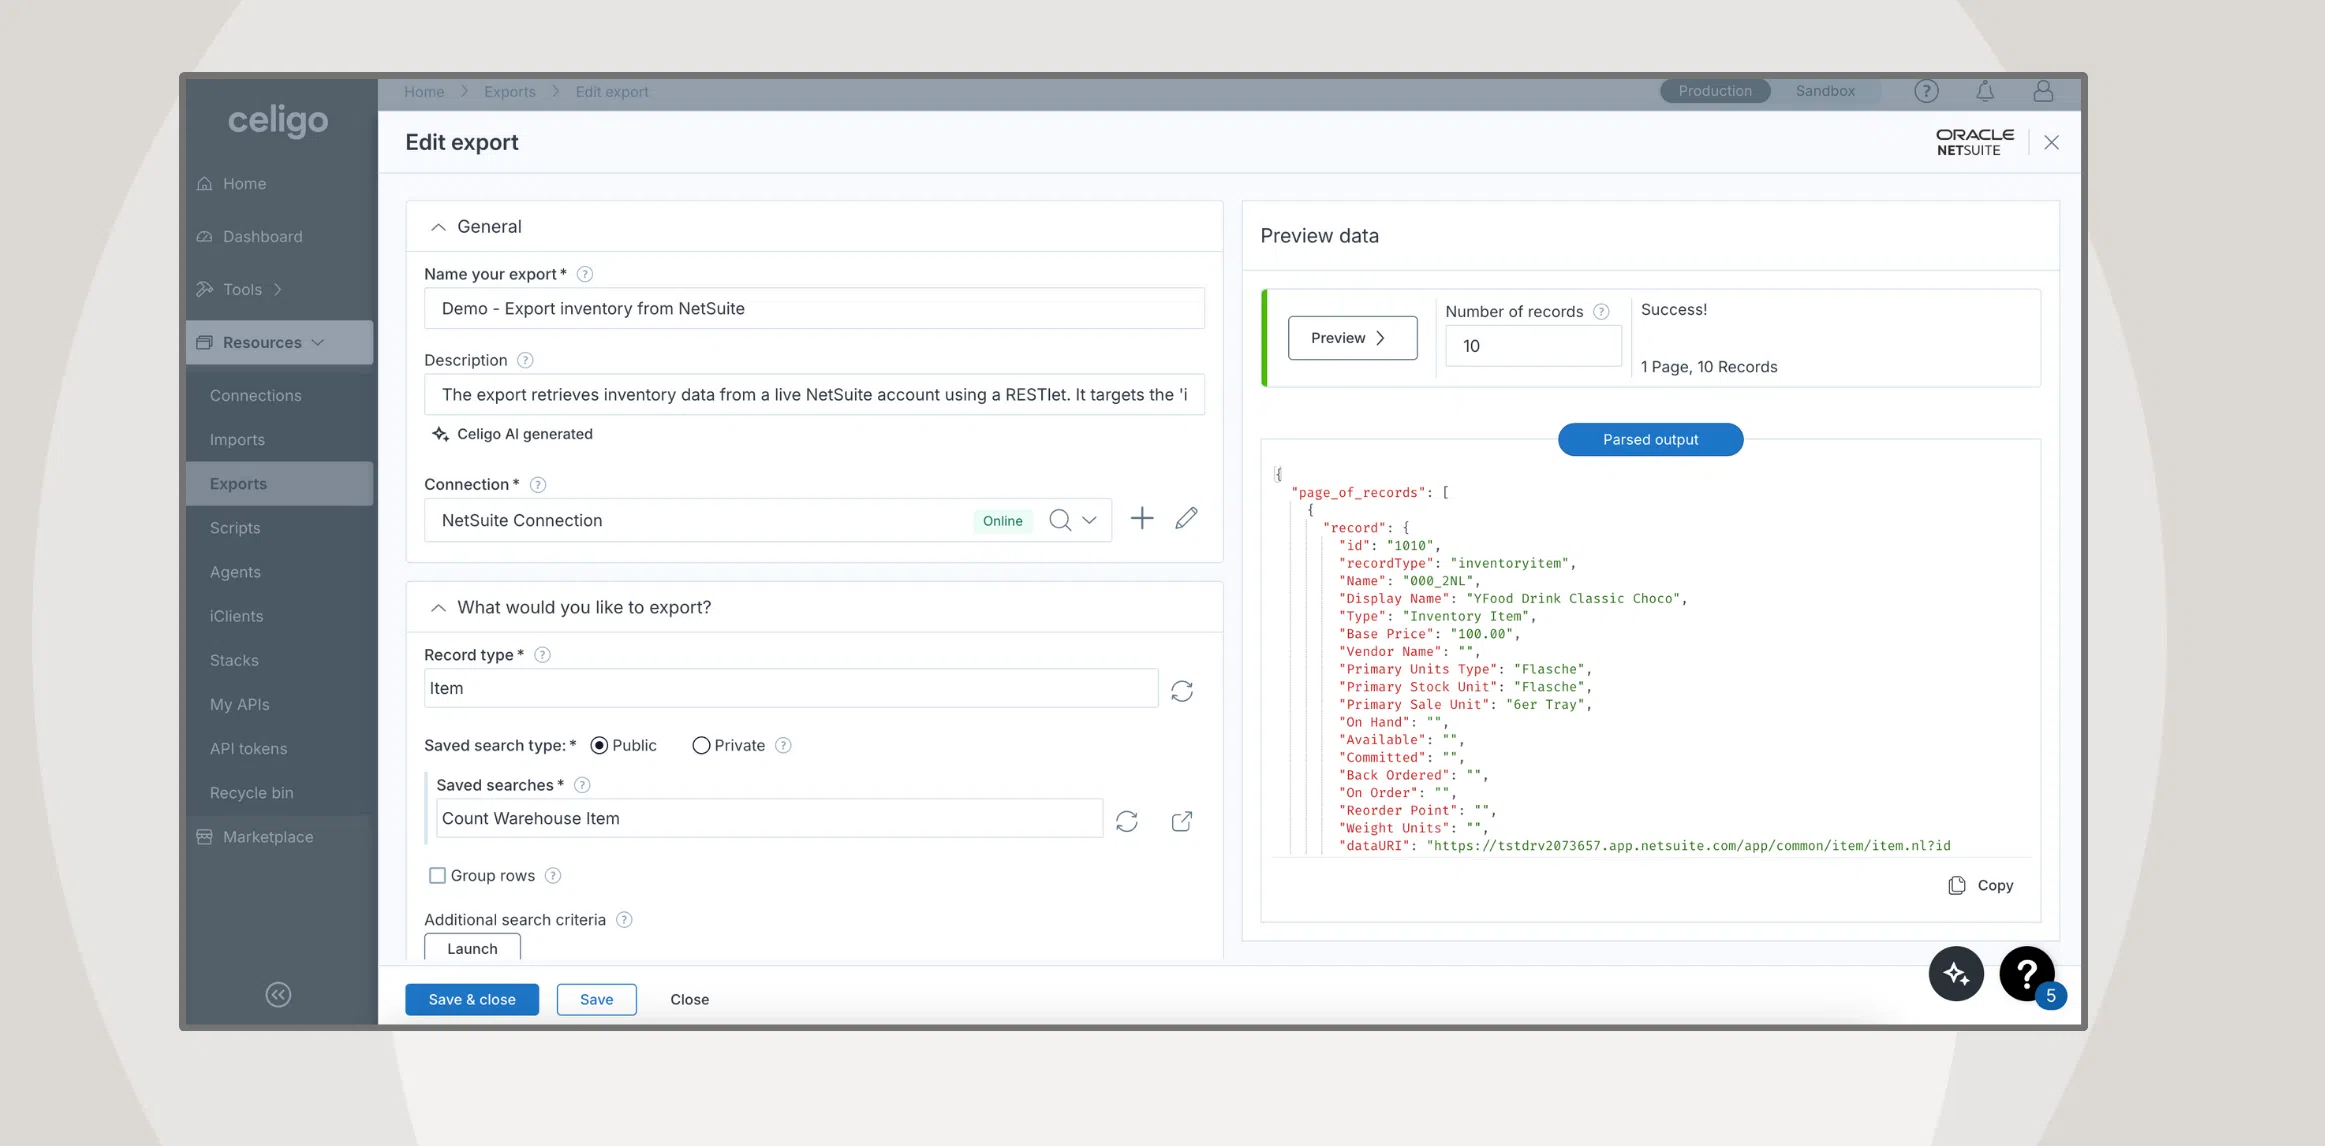
Let’s say you’re a developer at ACME Chocolatiers and need to expose inventory data to external partners to ensure inventory availability before placing an order. You can create an Export using the Celigo platform to pull item and inventory information from NetSuite. To achieve that, you need to set up your connection and select which object you want to expose. You can leverage the extensive export configuration options to suit your needs and validate them by previewing the exported data.
Once this export configuration is complete, Celigo exposes it as an API endpoint, which provides a secure way for external API consumers to retrieve the inventory data by invoking the API, ensuring a seamless exchange of data between systems.

2. Creating an Import
Now imagine ACME Chocolatiers needs to adjust inventory in Shopify based on real-time sales data. This ensures ACME’s partners get an accurate inventory count for any fast-moving item. To achieve this, you can create an Import in Celigo, which allows any authorized application to push data into Shopify through the API. You can either use an existing import in a flow to take advantage of prior investments or configure a new import and then add the necessary import mappings, e.g., inventory adjustment count in Shopify.
You can define how the data will be imported into Shopify and preview the configuration to validate it. Once this import configuration is complete, Celigo exposes it as an API endpoint that enables API consumers to adjust or update inventory in Shopify, making it easy to keep inventory levels synchronized across platforms.

3. Building a custom API with MyAPIs
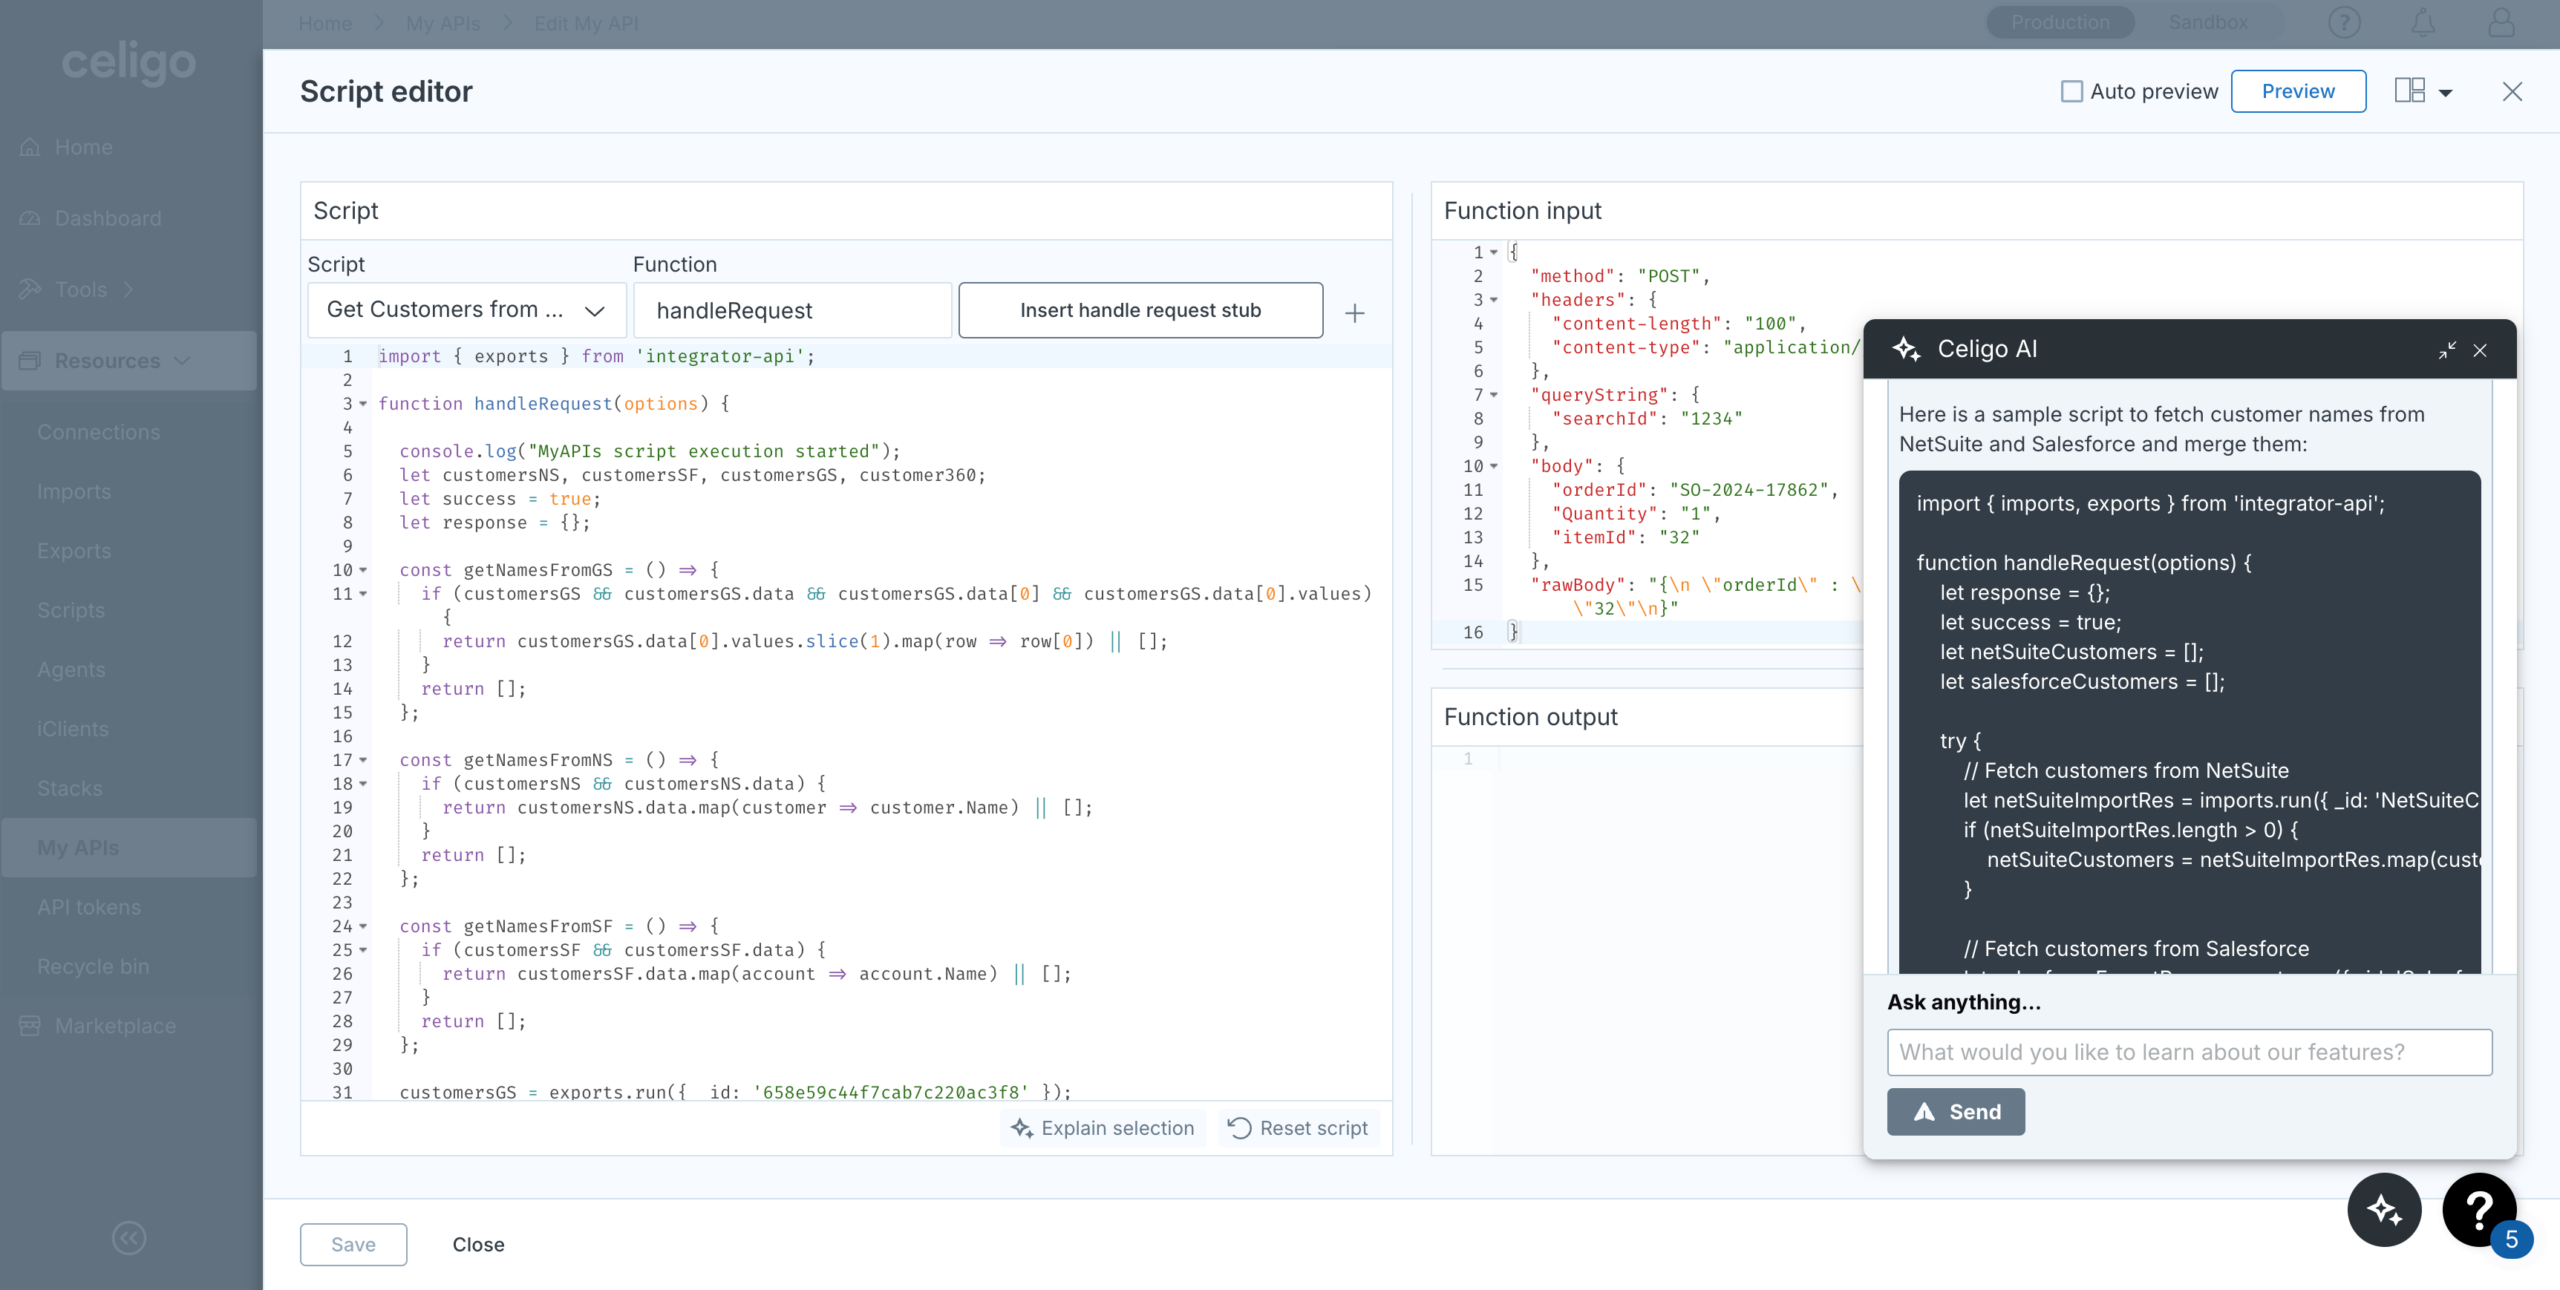
MyAPIs allow developers to combine multiple exports or imports into a single API or customize API responses for complex use cases. Celigo includes AI features to help users author their custom functions. For example, by adding relevant prompts in Celigo AI, you can automatically generate a “Customer 360” API for ACME Chocolatiers, combining customer exports from various systems (e.g., CRM, ERP, etc.) to provide a holistic view of customers.
Another use case might be an API that retrieves paginated inventory data from NetSuite, formatting responses before returning them to the consumer. These custom APIs enable greater flexibility and allow businesses to design services tailored to their specific needs, integrating multiple systems into one seamless API experience.

Pushing to the APIM Console
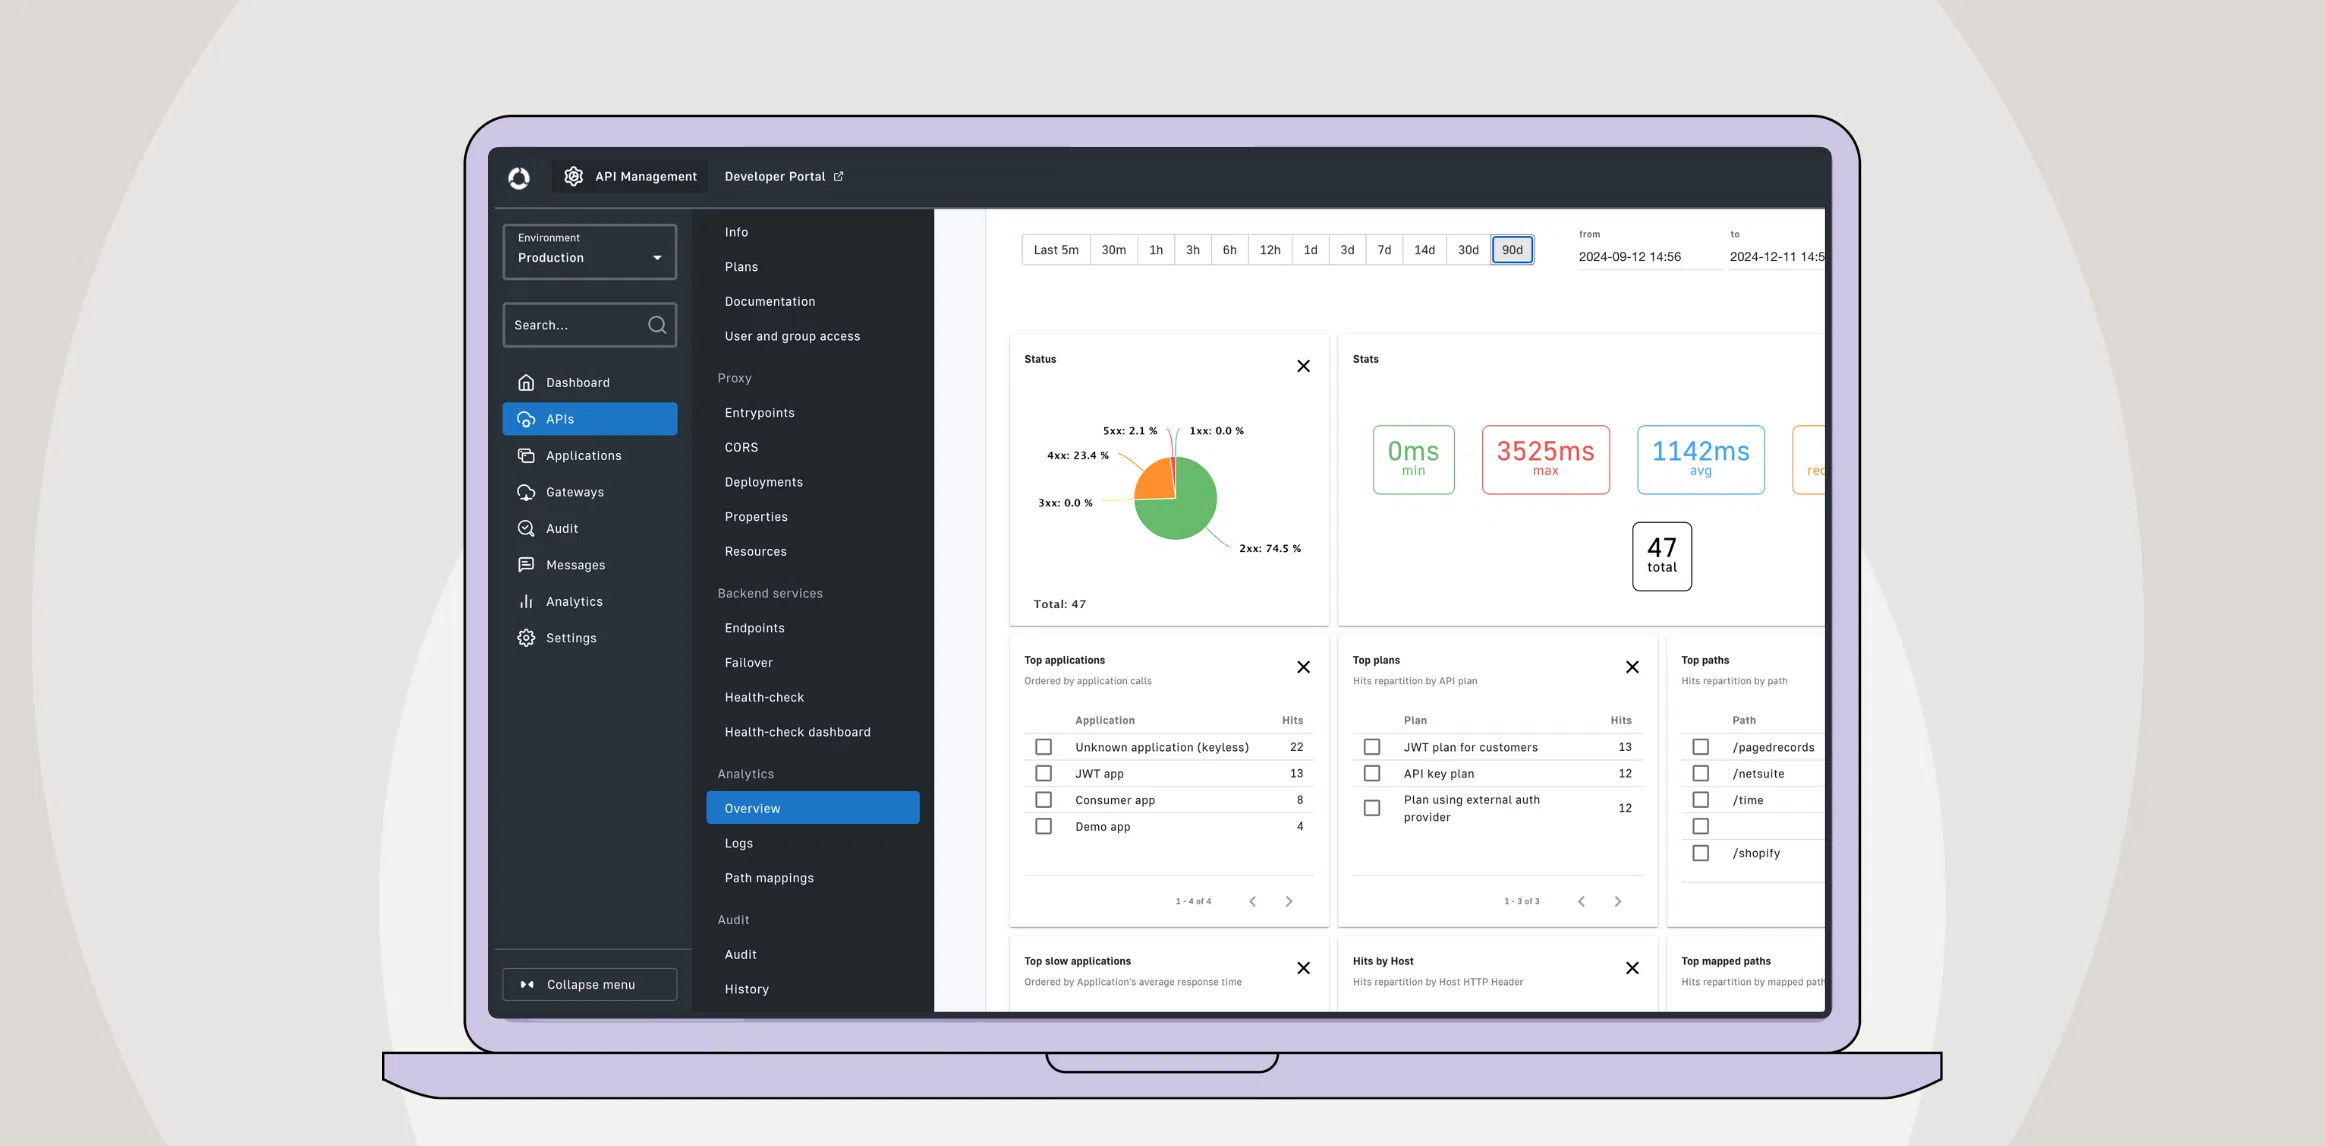
Once the APIs are designed, they can be easily pushed into the Celigo API Management (APIM) console, which provides developers with an intuitive interface to manage the APIs. While pushing these APIs to the APIM console, you can either create a new managed API or add endpoints to an existing API.

During the setup to create a new API, you can define a unique context path or base path that will be used in the API gateway URL. If you opt to add endpoints to an existing API, multiple endpoints will be grouped under a single API, providing flexibility in managing different services.
Celigo does all the configuration required to get you started with the API in the APIM console. You can then also make changes to the configurations to better suit your specific needs.
You will need to start the API which automatically deploys it to the API Gateway, which serves as an intermediary between client applications and backend services. The gateway also routes and secures API requests, ensuring that only authorized users can access your data and services.

Celigo automatically generates the OpenAPI specifications for Export and Import API services and creates a template for MyAPIs, all of which get automatically added as API documentation. OpenAPI specification is a widely accepted standard for defining RESTful APIs. It allows API consumers to understand how to interact with the API, reducing friction in adoption.
Designing APIs
The design phase in Celigo API Management streamlines the creation, exposure, and management of backend services. With a seamless platform for building exports, imports, and MyAPIs, organizations can efficiently design and develop services for both external partners and internal applications.
Integration insights
Expand your knowledge on all things integration and automation. Discover expert guidance, tips, and best practices with these resources.


