Published Nov 20, 2024
Increase productivity with Microsoft Excel Online and CRM integrations

Facilitating collaboration and productivity among teams within a business can be challenging, particularly when dealing with a diverse tech stack. Critical data is often spread across multiple applications, and not everyone has access to these systems. Licenses can be expensive, and provisioning them is often a time-consuming process.
As a result, teams frequently rely on shared spreadsheets as a workaround to centralize and present key data from various applications. Integrating these spreadsheets with your tech stack can help ensure they remain accurate and up-to-date.
Here, we’ll review recent enhancements to Celigo’s Excel Online connector and introduce a template helper that simplifies integrations with prebuilt flow steps. The integration solves a business problem using two flow steps from this template to transfer data between a Microsoft Excel Online spreadsheet and a CRM.
Demo: Integrate Excel Online with a CRM
RevOps example use case
Before diving into the flows, consider a spreadsheet used for this integration. Imagine you’re a sales manager responsible for tracking the account executives assigned to your business development representatives (BDRs) and their outreach territories.

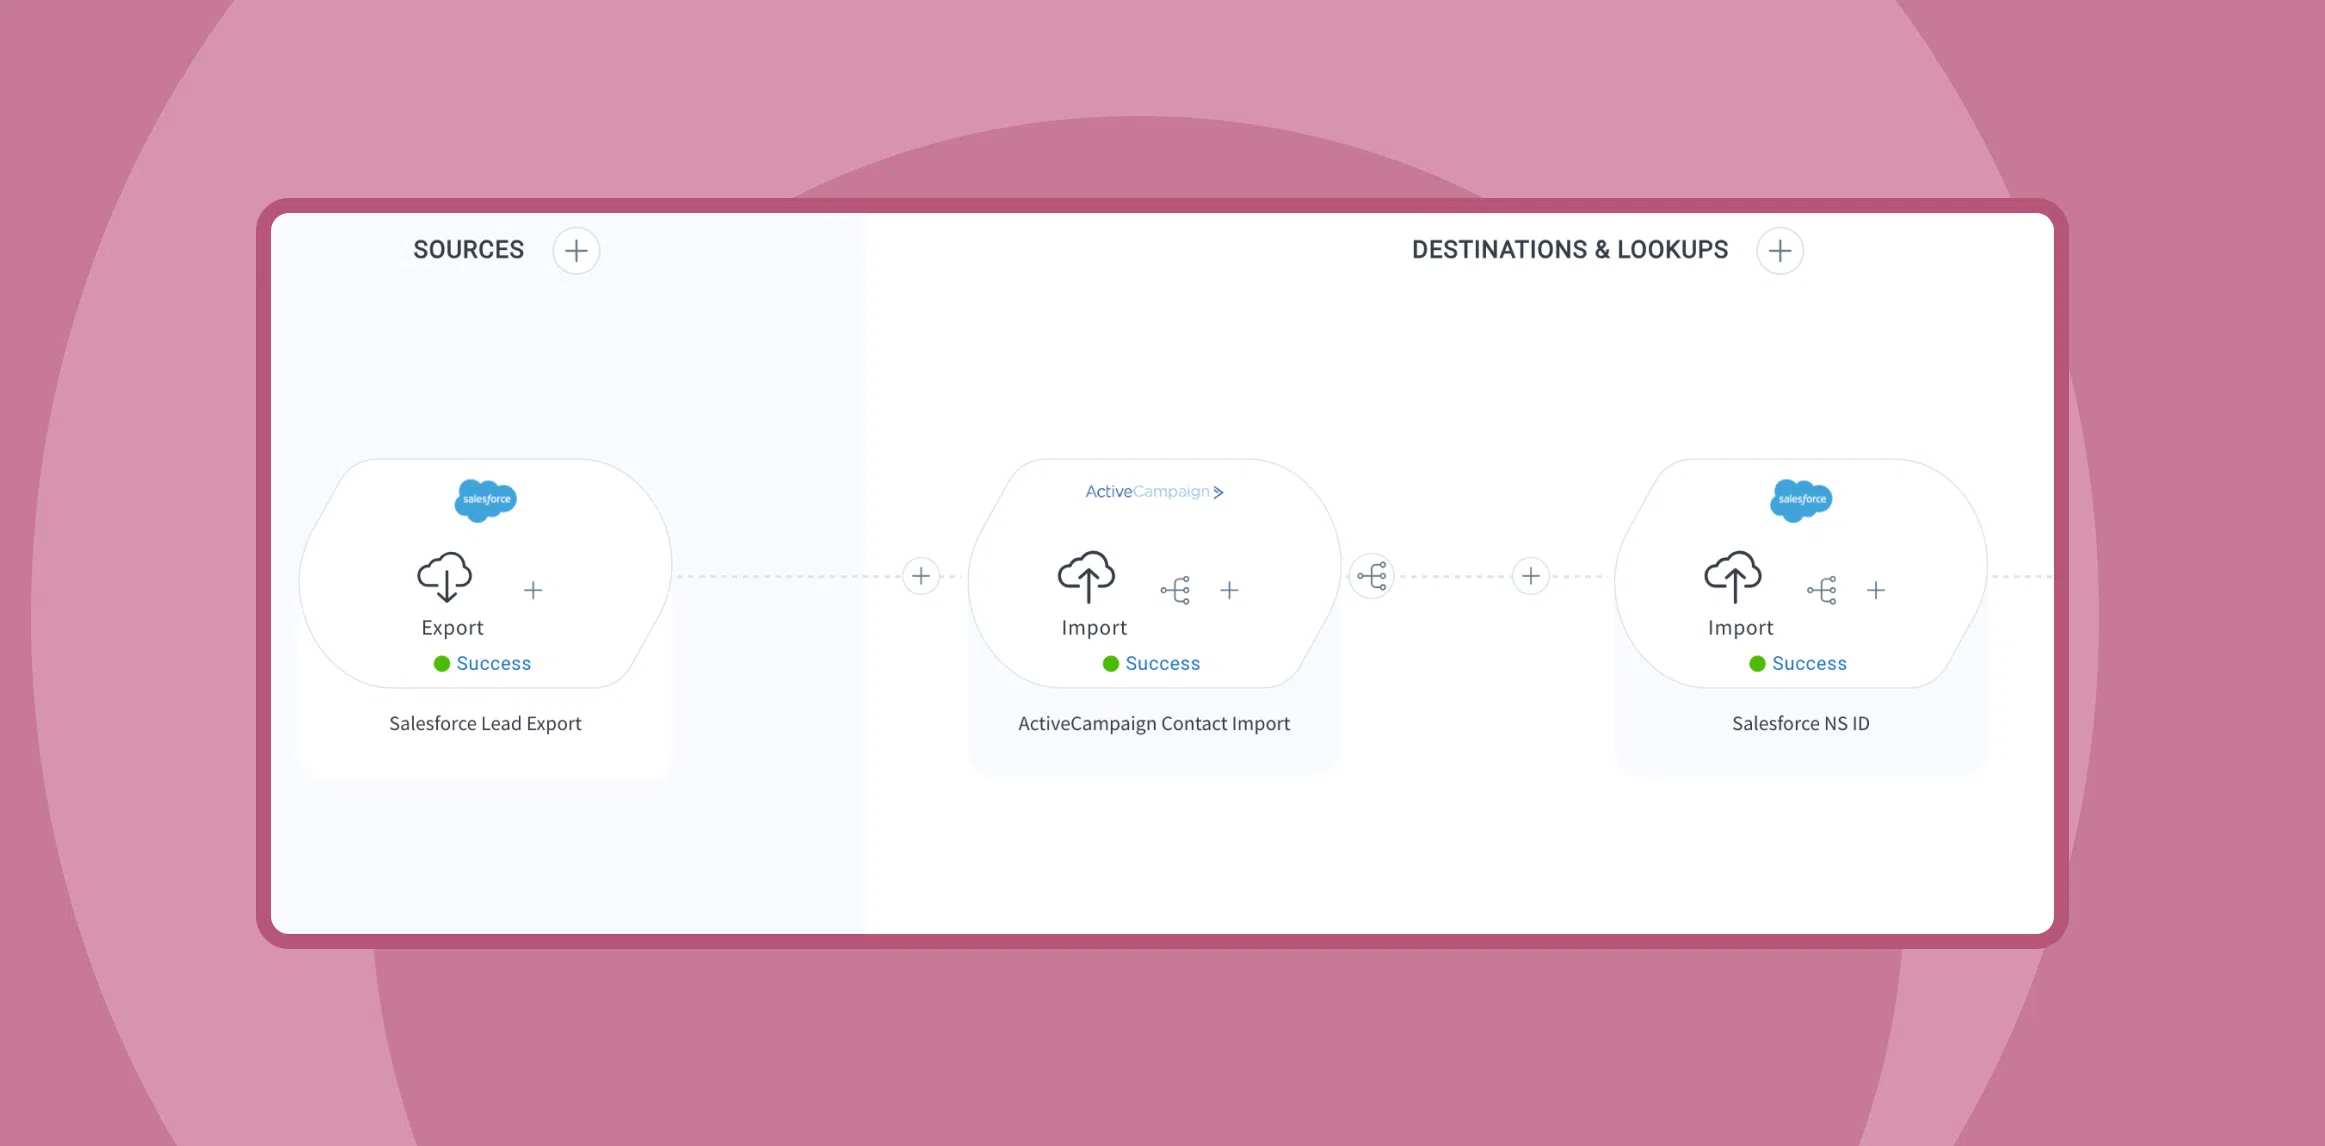
A spreadsheet like the one pictured above helps maintain a high-level overview of those details. However, using a few simple flows, we can automate the transformation of rows in this spreadsheet into new/updated records in Salesforce. Inversely, we can allow updates in Salesforce to be reflected in our spreadsheet, giving us immediate insight into new BDRs or revised information for current BDRs.
Let’s explore two flows that enable bidirectional data synchronization between Excel and Salesforce.
Flow 1: Syncing data from Excel to Salesforce

The first flow focuses on integrating data from the Excel spreadsheet into Salesforce. This flow begins with a prebuilt flow step from a template. While constructing a flow, users can easily add one of these template steps by selecting it during the process of adding a step.
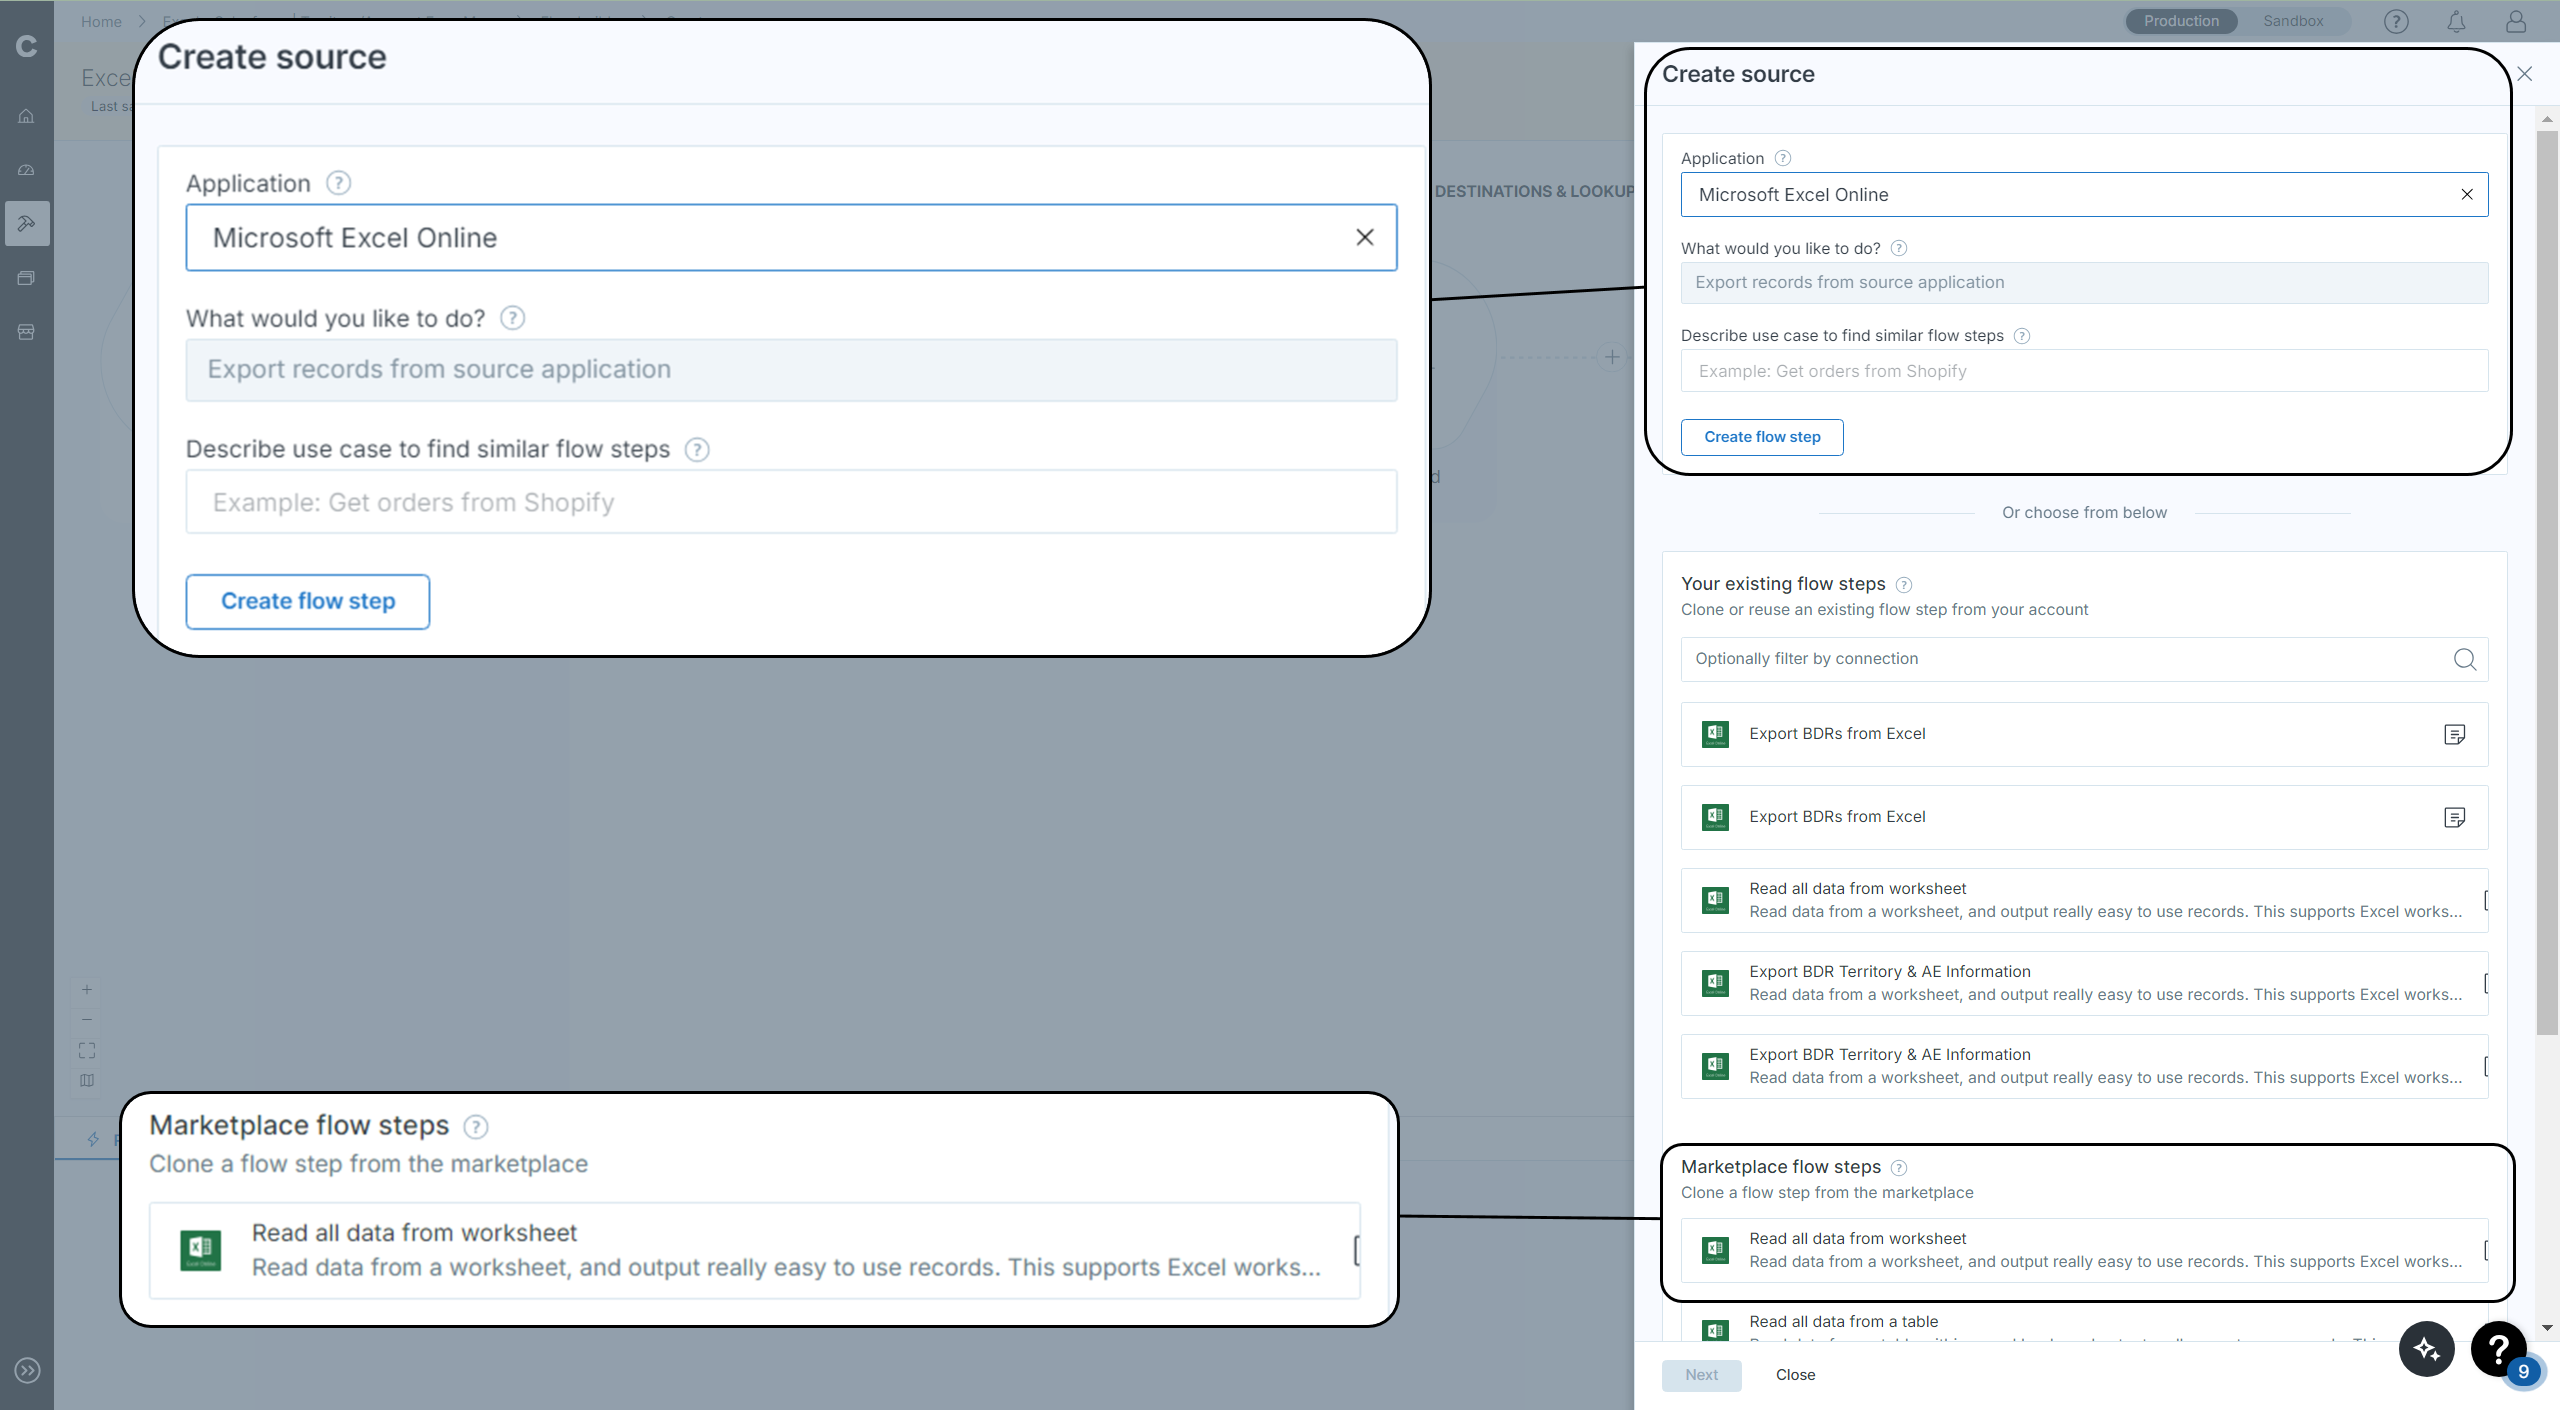
The process is depicted below.

After entering your application of choice for the step you’re creating, scroll down to see steps available for that connector from the Celigo Marketplace, where templates can be found. The “Read all data from worksheet” template flow step pictured above was used in the first step of this flow.
One of the key enhancements to this connector is the upgrade to OAuth 2.0 for authentication when creating a connection. This means users no longer need a client ID and secret; instead, they simply need to name their connection, configure the necessary read/write scopes, and log into their Office 365 account.
In the template step, there is a custom settings tab at the bottom of the “Edit Export” screen. Here, users specify whether the spreadsheet is stored in OneDrive or SharePoint, select the appropriate workbook from an automatically populated list, enter the spreadsheet name, and indicate if the first row contains headers.

Once these steps are completed, the spreadsheet data is sent to Salesforce, creating BDRs as contact records. The final step involves writing the Salesforce IDs back to the spreadsheet. These IDs will be used as a key column for the next flow, which will involve adding/updating rows.
Flow 2: Syncing data from Salesforce to Excel

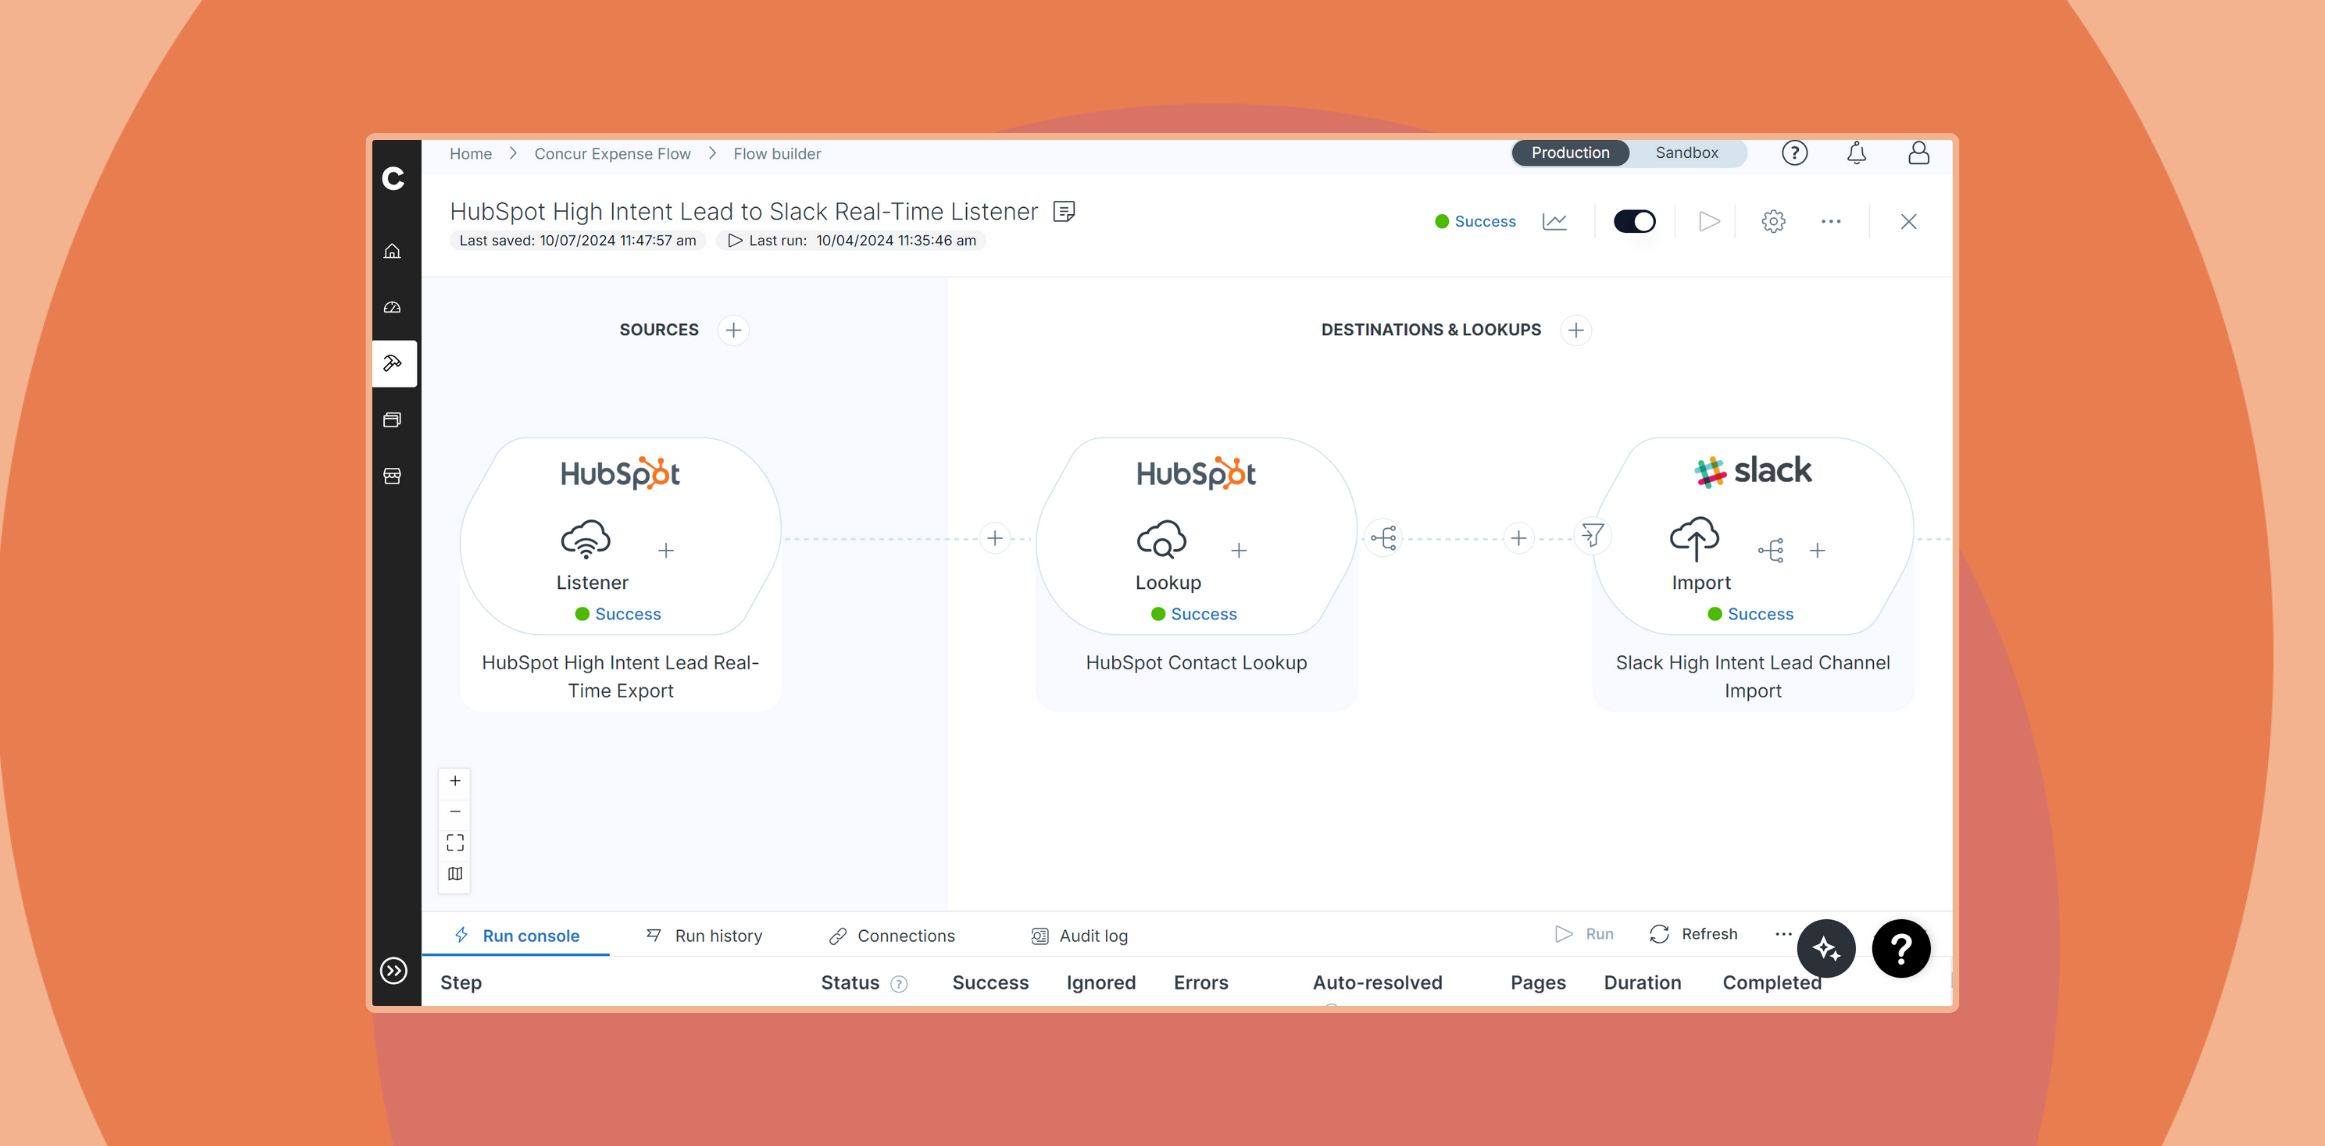
The second flow addresses the reverse process, updating the spreadsheet to reflect changes made to these BDRs in Salesforce. This flow also uses a step from the template helper designed for imports called “Update Existing Rows and Append New Rows,” simplifying the process of adding to and updating rows in the spreadsheet with features like a custom settings tab and a prebuilt hook.
This template also features a “Custom Settings” tab, where you’ll configure the information the platform needs to find your specific spreadsheet. Since this step will be responsible for updating records, it needs a way to identify records.
This is the purpose of a key column.

Note that a column name was entered into the “Column to find existing rows” field. Below that, the id field of source records (in this case, the id of these BDRs as Contacts in Salesforce) is compared to the values in the BDR Contact Id column to find an existing record.
Automate data transfer with Excel Online integrations
With just a few steps, we establish a bidirectional synchronization that automates data transfer between a high-level spreadsheet and a CRM.
With template helper flows and enhanced connection methods for the Excel Online connector, you can easily build and manage flows to synchronize data between spreadsheets and applications like your CRM.
These features enable faster integration development, improving operational efficiency and streamlining data management.
Integration insights
Expand your knowledge on all things integration and automation. Discover expert guidance, tips, and best practices with these resources.


