Published Feb 7, 2021
How to Migrate QuickBooks Online Data to NetSuite for Free

If you’re looking to migrate data from QuickBooks Online to NetSuite, you’ve come to the right place. In this article, we’ll show you how to successfully configure connections between QuickBooks and NetSuite, as well as customize the data imports and exports to fit your needs.
Here’s a demo video that shows you how to perform the migration, followed by an exhaustive step-by-step walkthrough so you can follow along the steps yourself.
Sign up for a Free Edition account
In order to migrate your QuickBooks data to NetSuite for free, you’ll need to sign up for a Free Edition account on Celigo’s integrator.io.
- Click here to sign up for a Free Edition account.
- Check your email and follow the instructions to activate your account.
- With Celigo’s Free Edition, you’ll be able to run one integration flow at a time in perpetuity. To run multiple migration flows at once, you can activate the free trial with unlimited flows for 30 days.

Install the QuickBooks-NetSuite integration template
Once you’ve activated your Free Edition account, it’s time to connect QuickBooks and NetSuite!
- Sign into integrator.io.
- Navigate to the Marketplace in integrator.io and locate the QuickBooks tile. For quickest access, you can enter QuickBooks into the search bar.
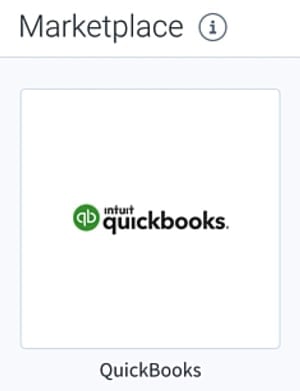
- Click the QuickBooks tile and then locate the (Oracle NetSuite) QuickBooks – NetSuite template.
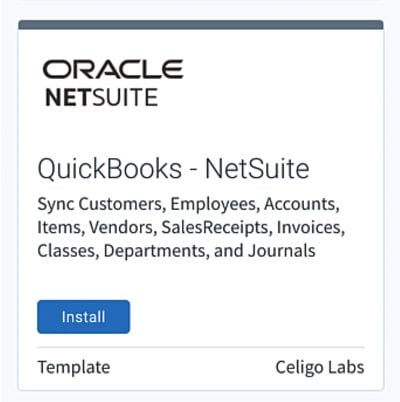
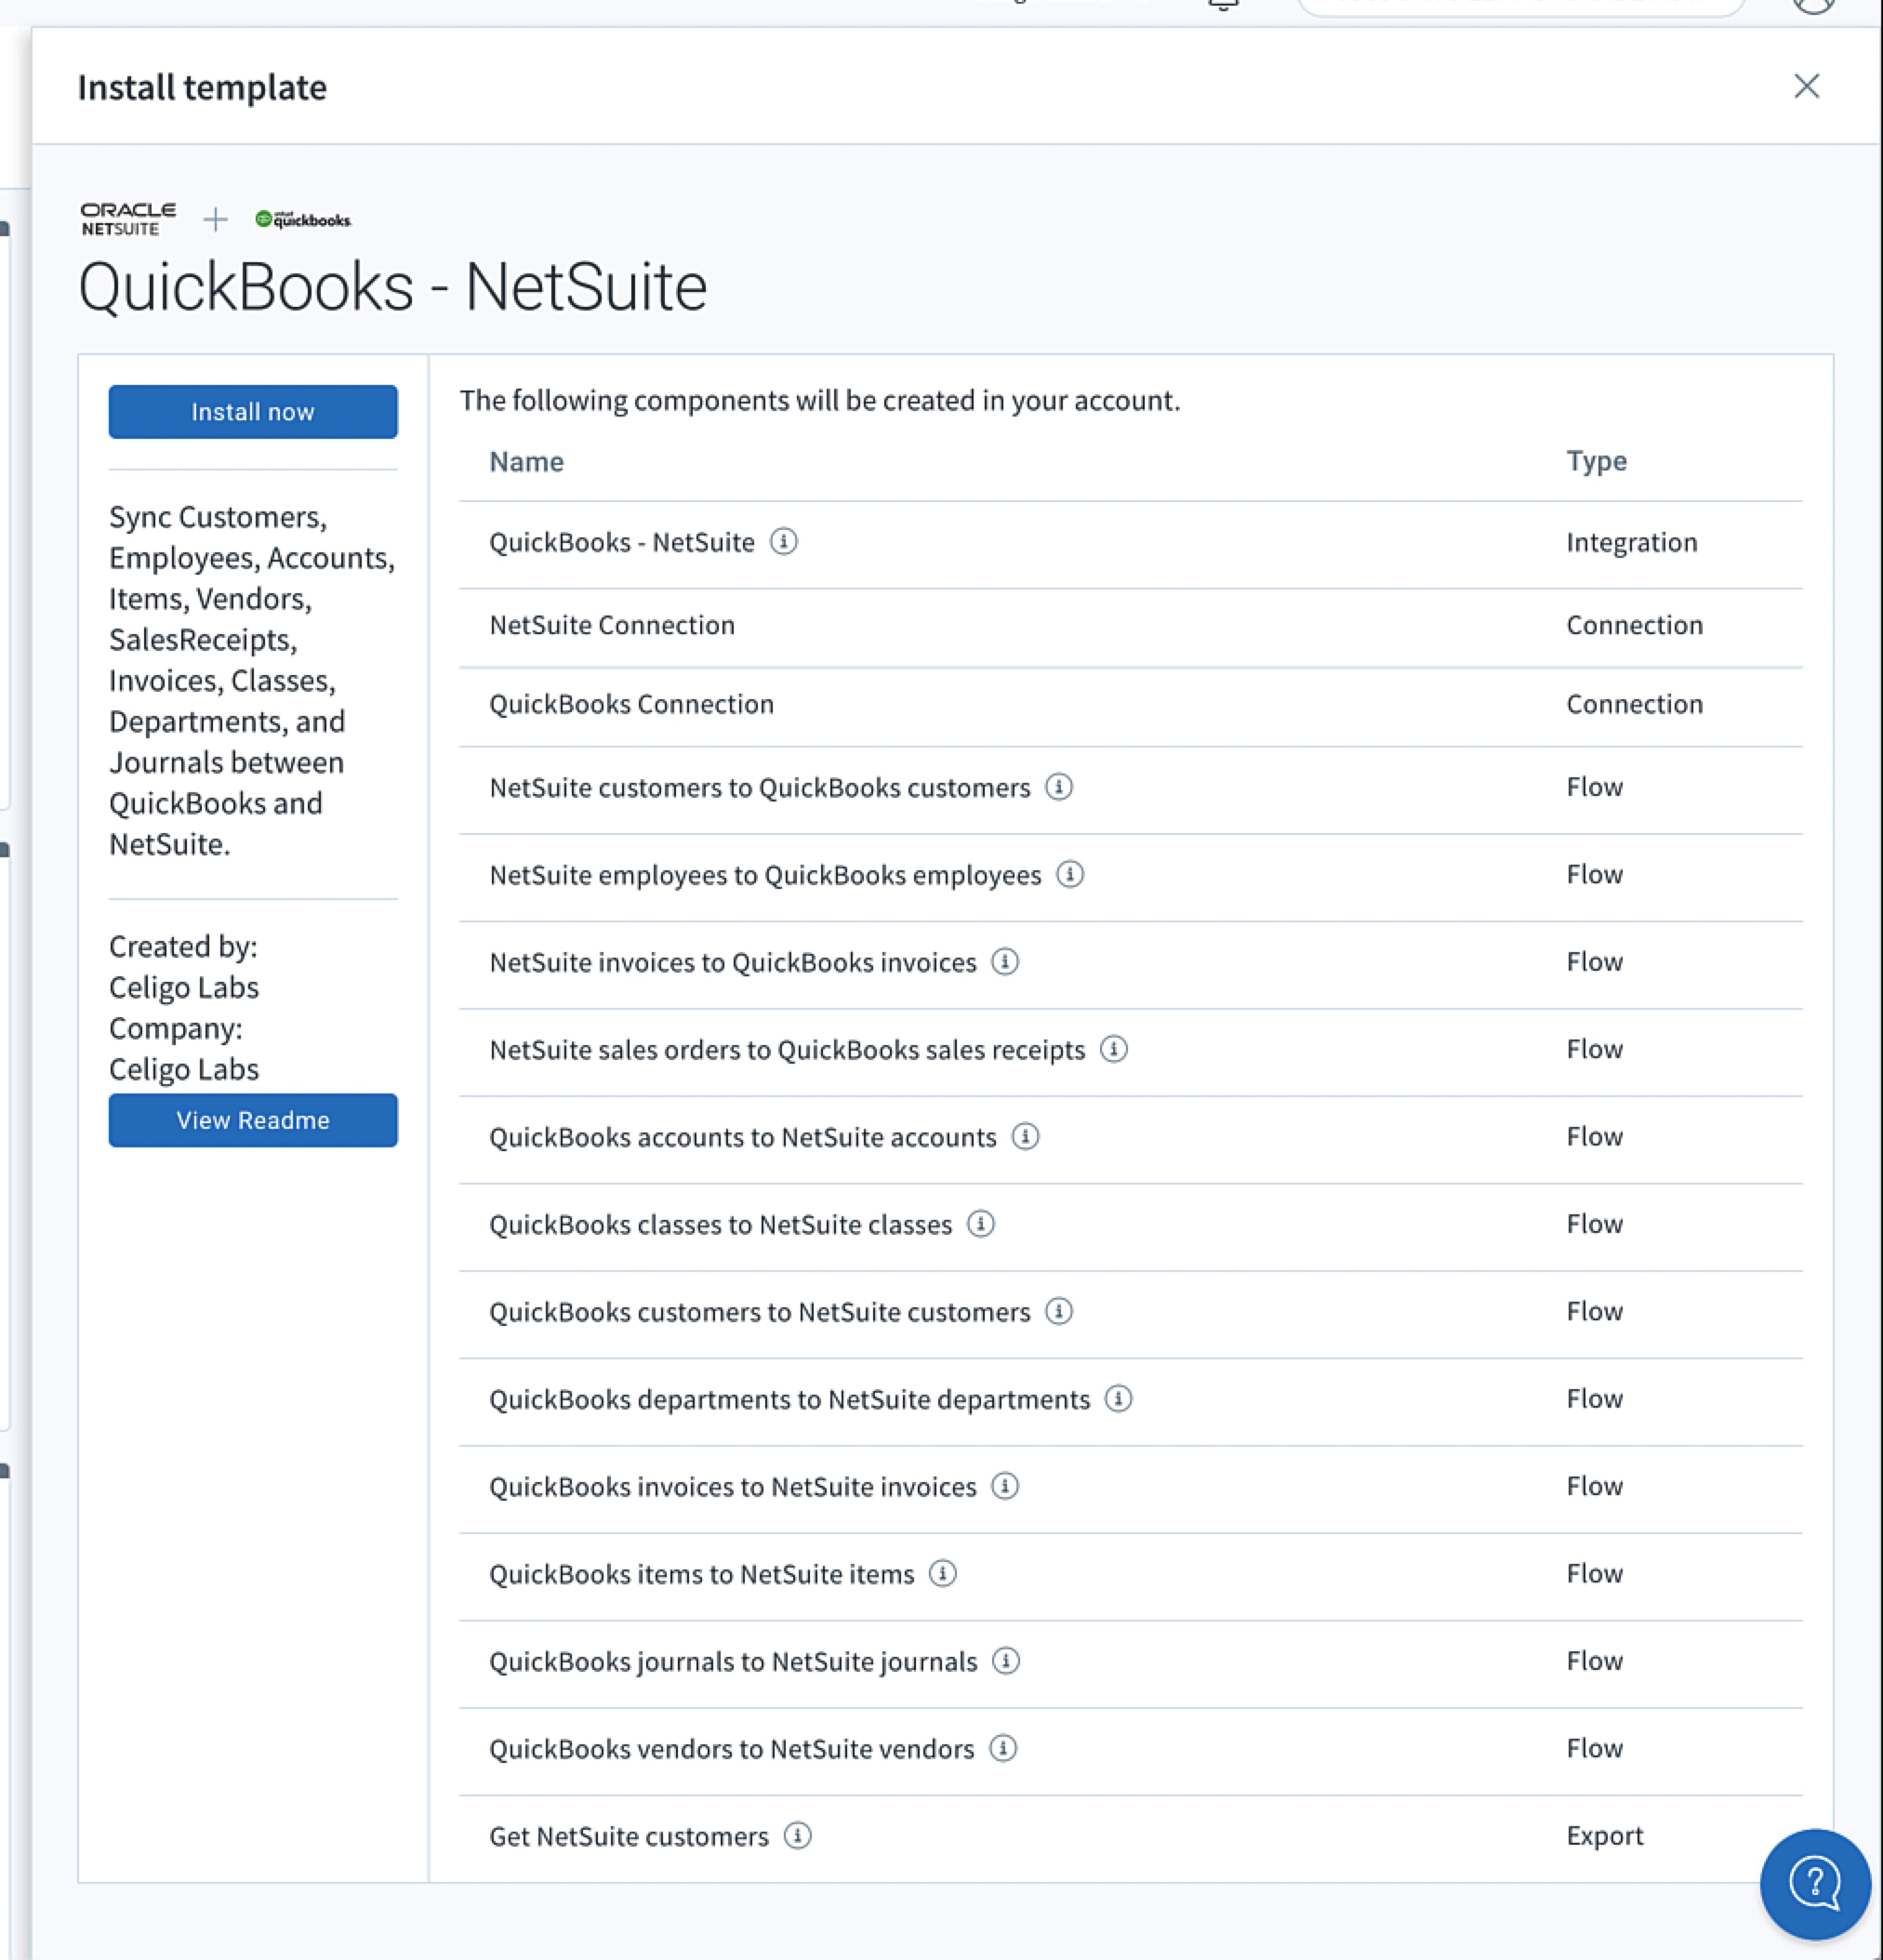
Once you’ve reviewed the list of flows, click Install now and accept the Celigo disclaimer.
Configure the QuickBooks and NetSuite connections
- In the installation window, click Configure in step 1 to enter your NetSuite credentials. You can set up a new connection or use existing credentials to NetSuite.

- To enter your QuickBooks credentials, click Configure in step 2. As with the NetSuite connection, you can set up a new connection or use an existing one.
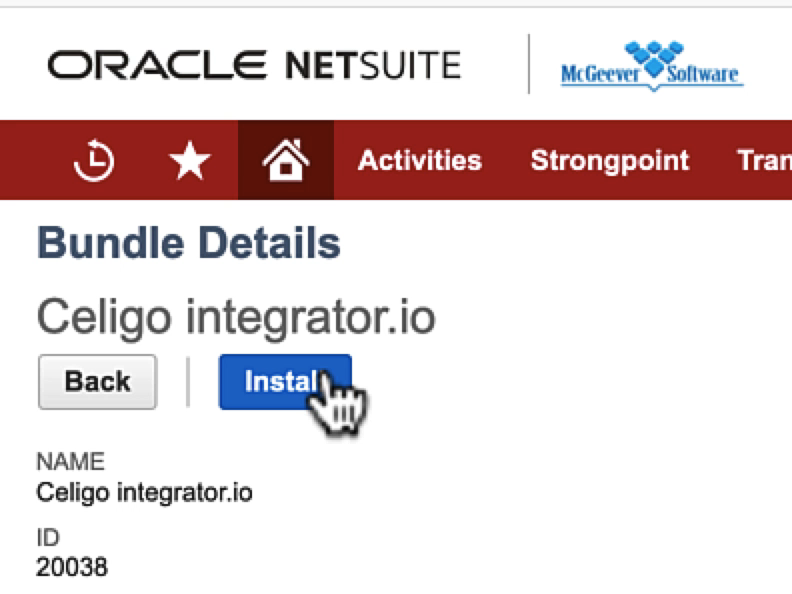
- If you have not previously installed the Celigo integrator.io bundle in your NetSuite account, then click Install in step 3 and follow the instructions to complete the installation. When you finish, navigate back to Celigo integrator.io and click Verify now in the template installation. (If the bundle is already installed, you’ll instead see Verified in this step.)
- When you’ve finished configuring all of your connections and installed the bundle, click Install in step 4 to complete the installation of the QuickBooks – NetSuite template.
Install the QuickBooks bundle in NetSuite
To make this process a little easier, we’ve created a bundle (341276) inside of NetSuite that contains custom created fields and subtabs in order to hold QuickBooks data when imported to NetSuite.
- To use this bundle, go to NetSuite and navigate to Customization > SuiteBundler > Search and install bundles. In the Keywords box, enter QuickBooks.
- Click the Celigo Labs – QuickBooks Online result, and then follow the NetSuite instructions to complete the installation.

Customizing your new integration
You’ve now installed prebuilt integration flows that will move data between QuickBooks and NetSuite into your integrator.io account.
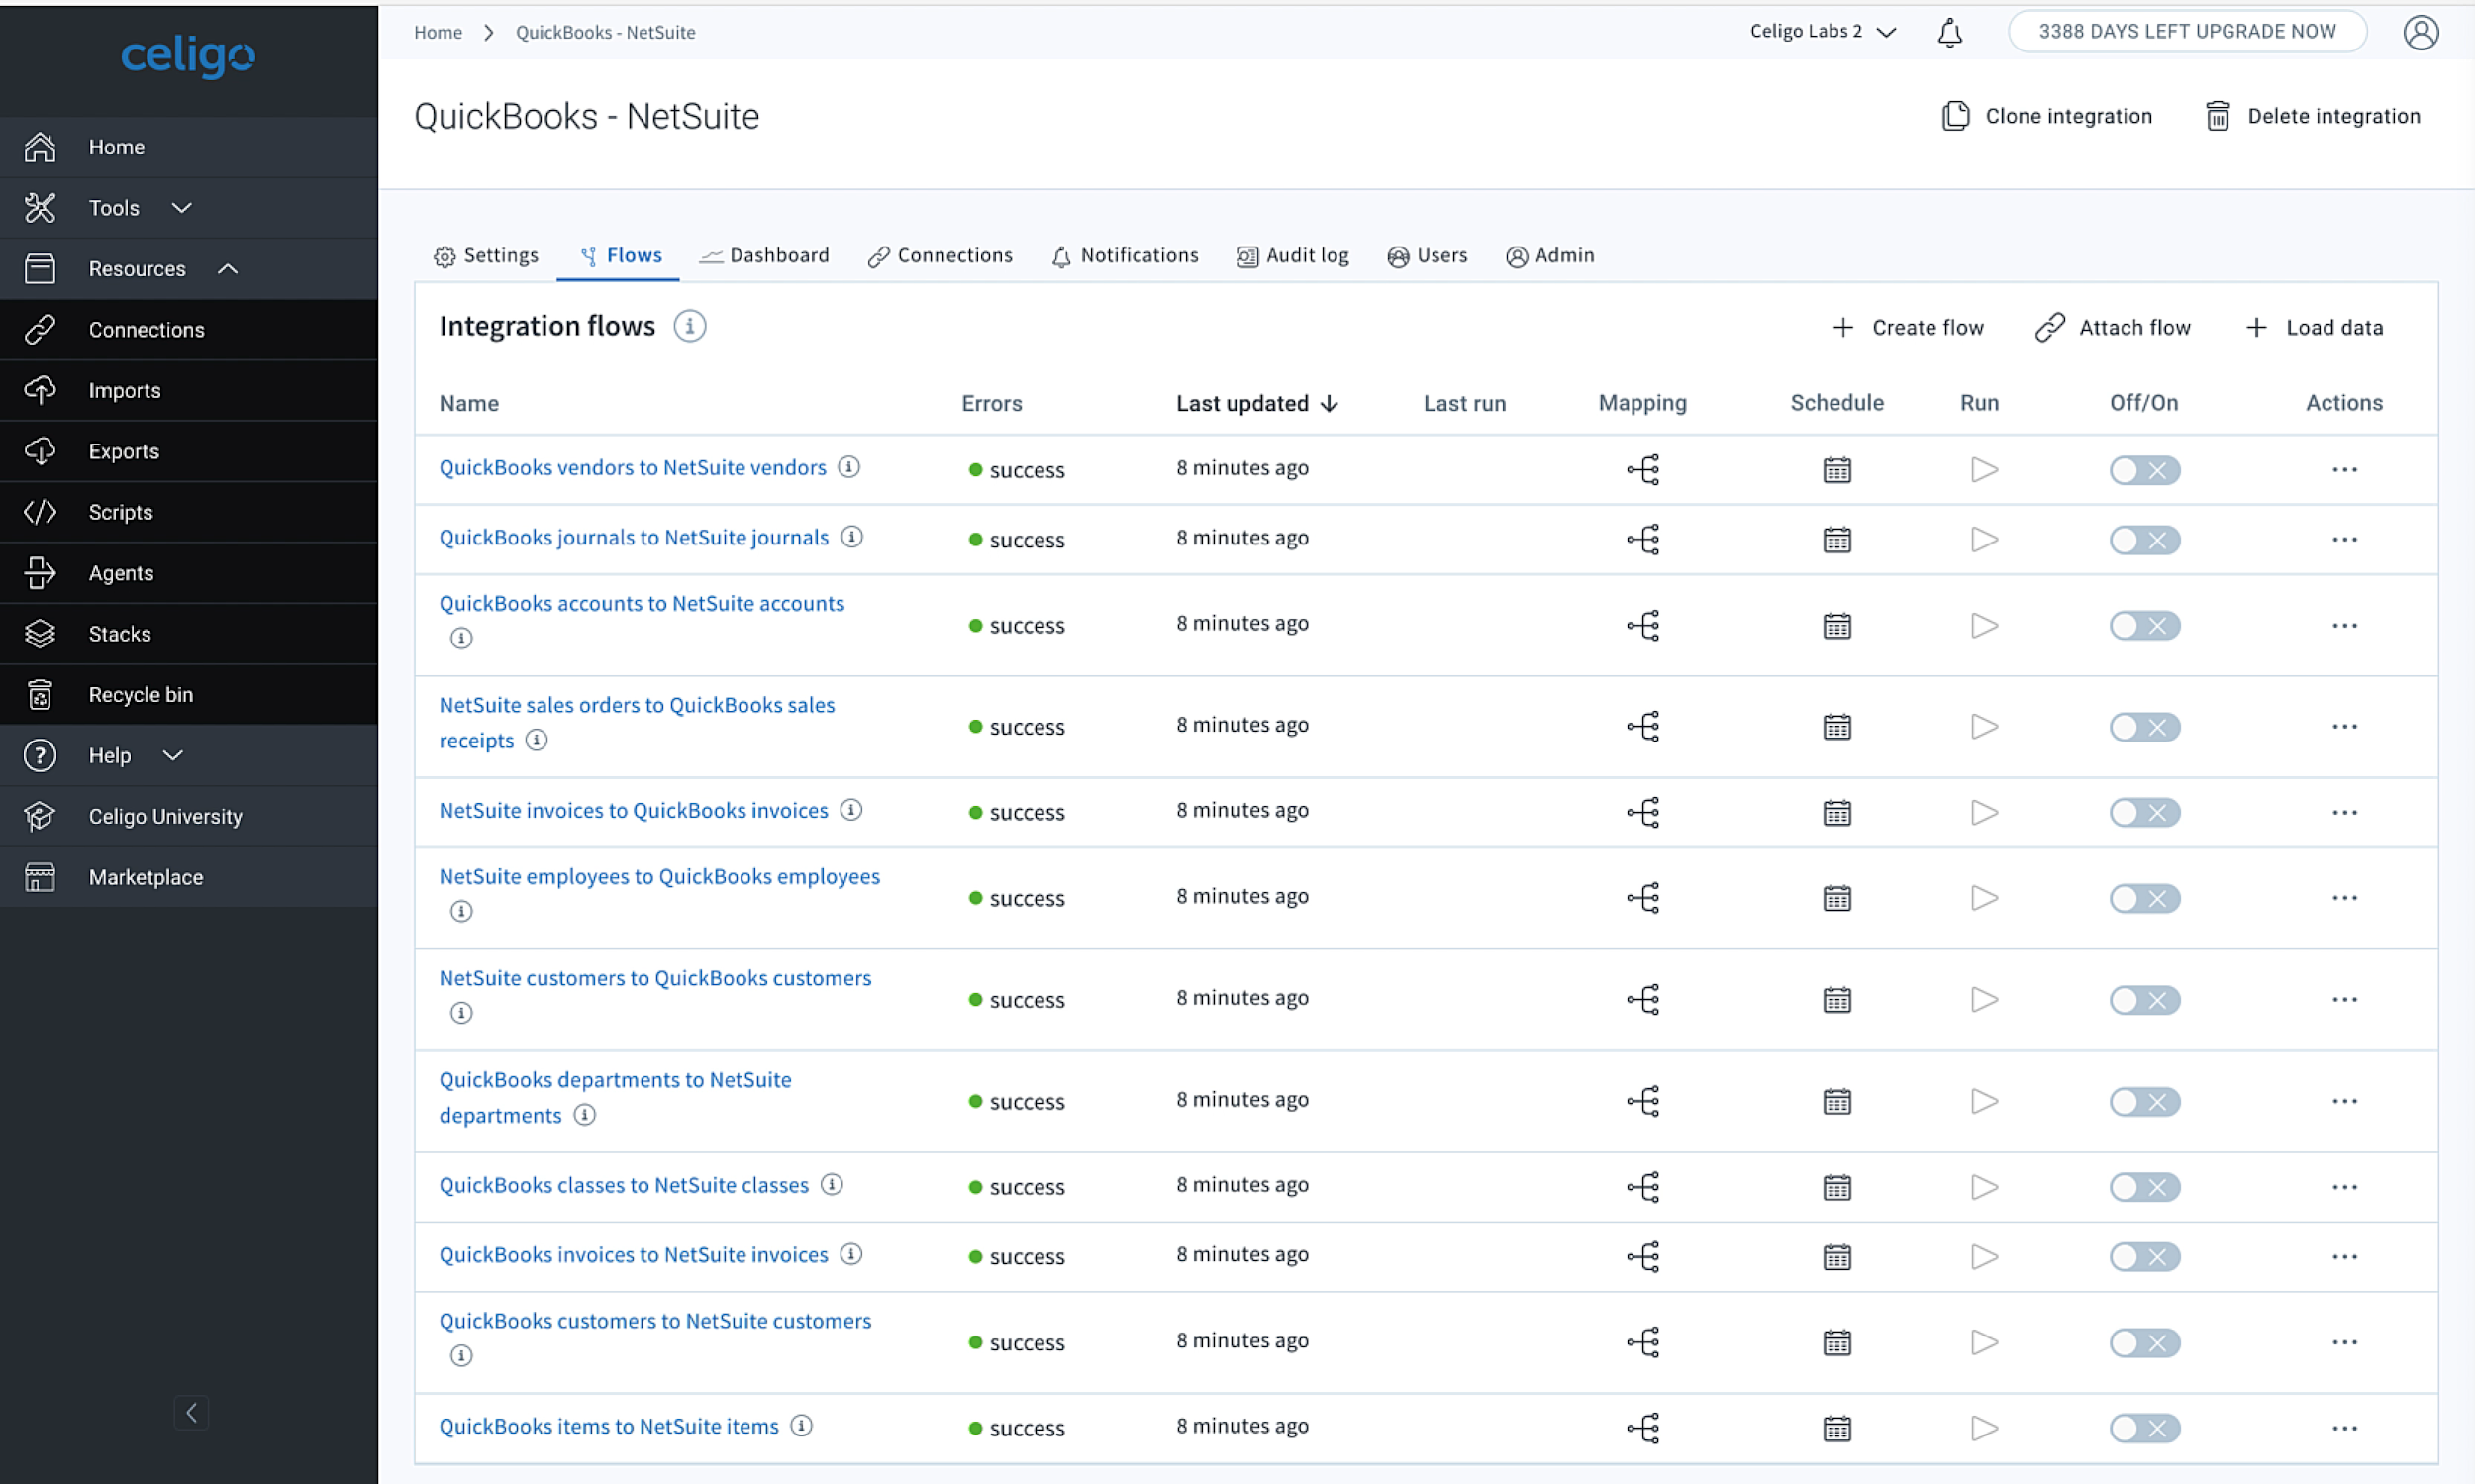
You can now go through each flow and ensure the configurations and mappings work for your specific use-cases. In the following sections, we’ll walk you through all the different ways you can customize the integration to fit your business needs.
Tailor the imports and exports
You will want to confirm the fields being referenced are the fields you wish to use for your QuickBooks data.
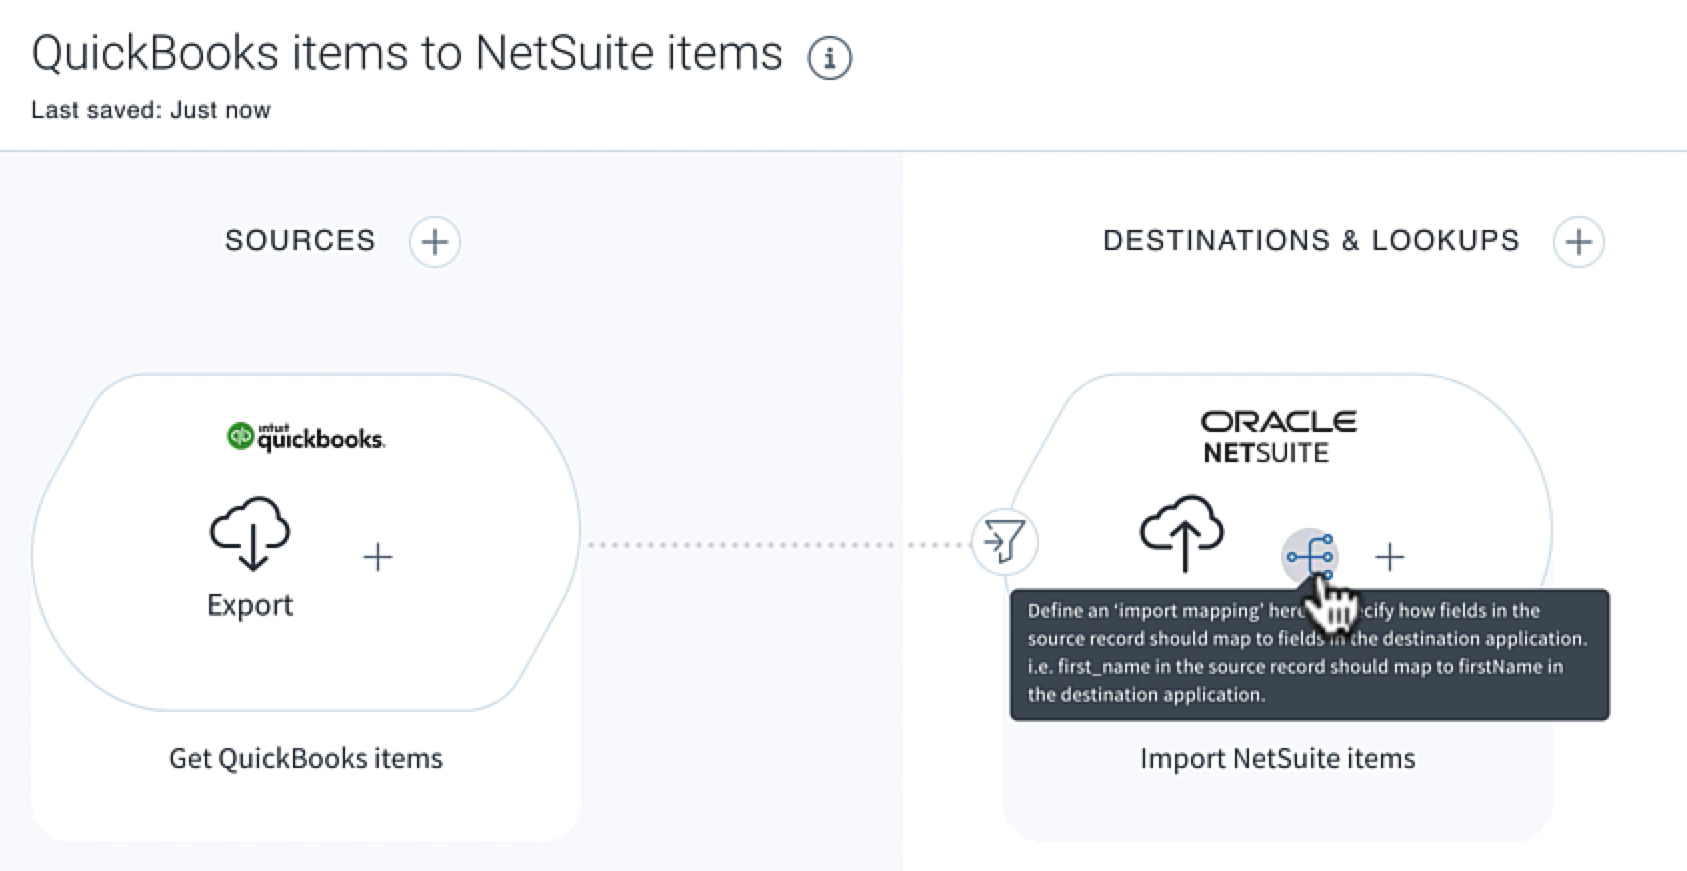
For example, in this Items integration flow, the import to NetSuite is set to Add or update. You are free to change the operation, as needed.

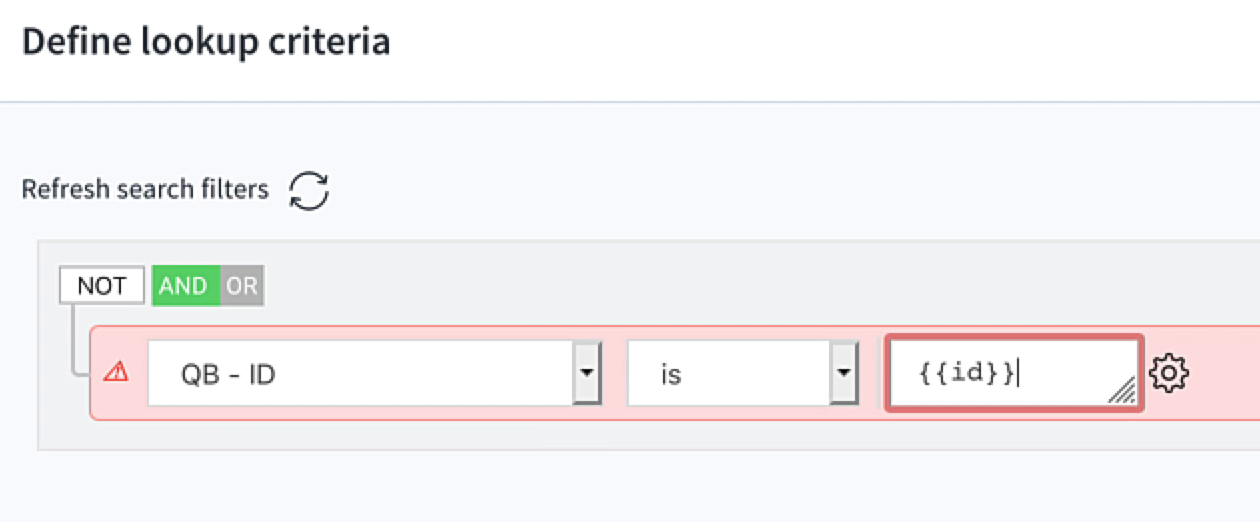
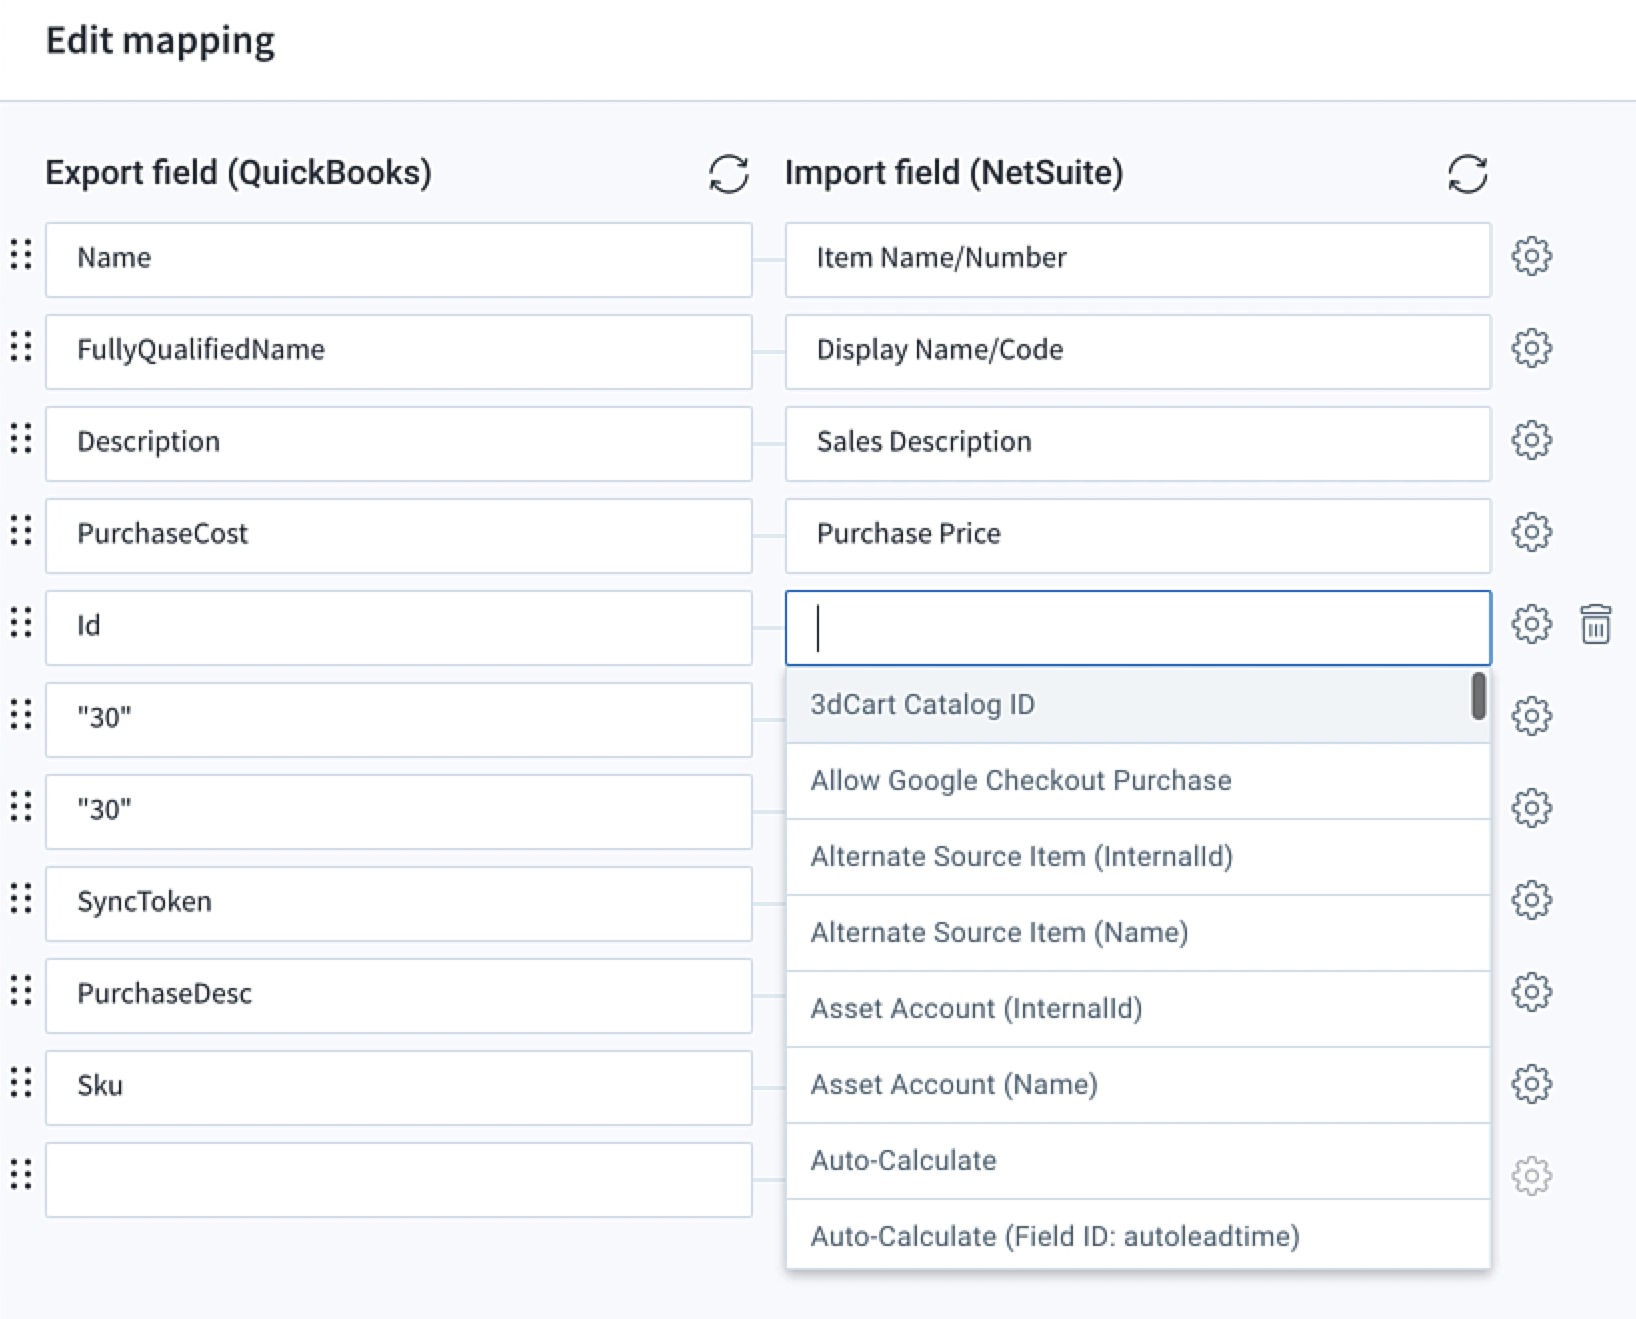
You will want to confirm – and update, if necessary – the default field referenced in the NetSuite lookup is the actual field where you are storing the QuickBooks ID for existing items.
Adjust the import mappings
In the mappings fields, ensure the data is assigned to the expected fields in QuickBooks to your NetSuite instance (or vice versa – or both for bidirectional flows).
Run the flows and test
Once you have ensured all flows are configured as expected, you can then turn on the desired flows, and either set the schedule you want them to run on, or run on demand as necessary.

Automation with integration
Use Celigo’s complete integration platform to automate your business processes. With our iPaaS, you can migrate your QuickBooks data quickly and easily – all you need to do is sign up for the Free Edition today!


