Published Jul 18, 2024
Optimizing data workflows with reverse ETL

Here, we discuss reverse ETL, a crucial method for enhancing data workflows and business operations. We’ll cover fundamentals and common applications and provide an example of using data aggregation and journal entry creation in NetSuite to enable actionable business insights.
Reverse ETL overview
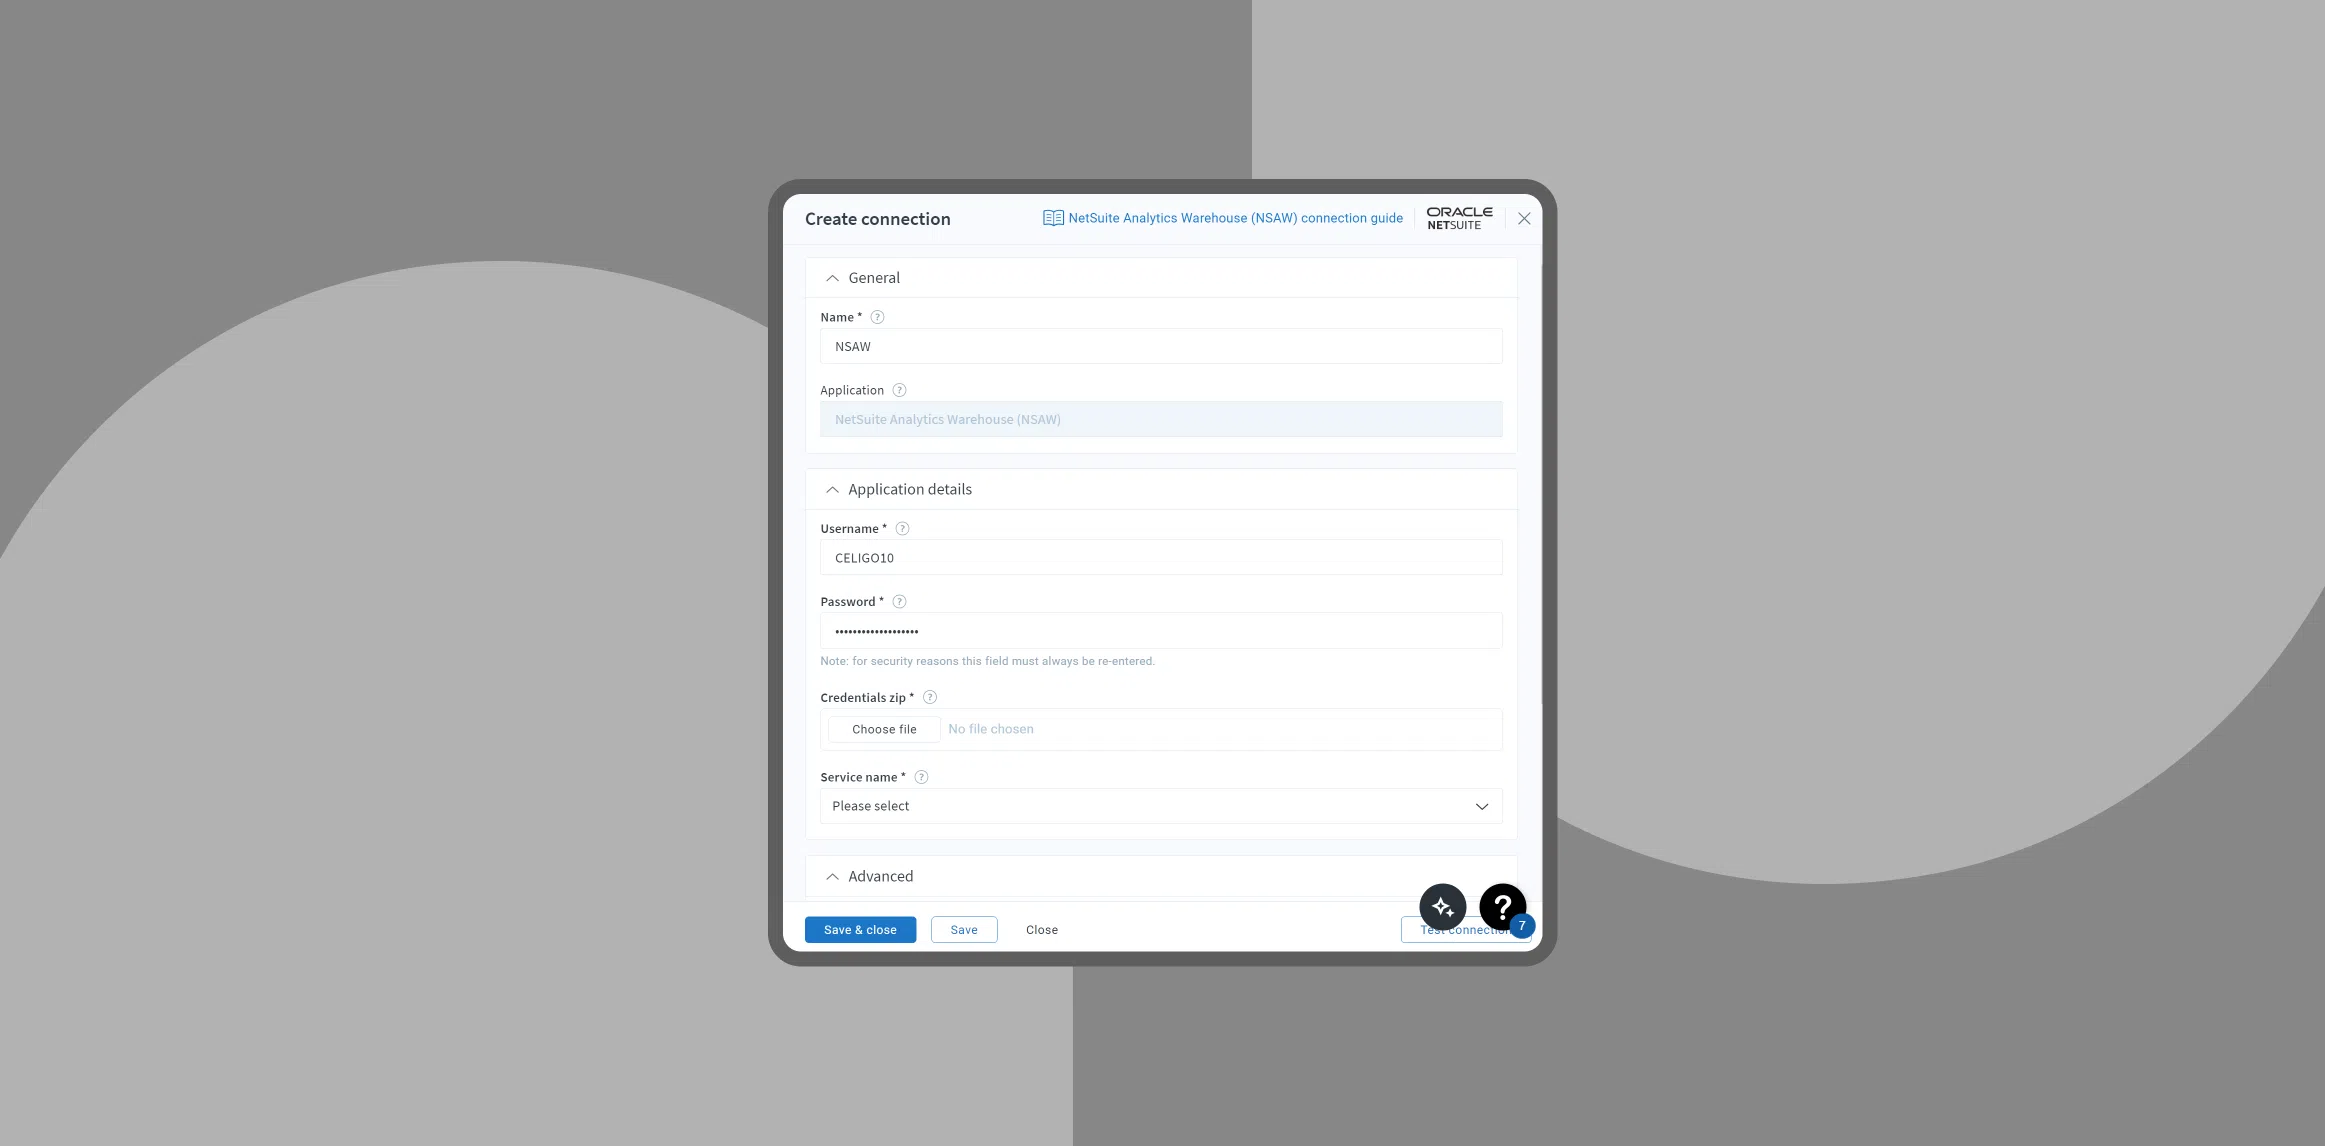
Reverse ETL is the process of migrating data from a database or data warehouse (such as NetSuite, Analytics Warehouse, Snowflake, or SQL Server) back into a source application (such as NetSuite, Salesforce, or HubSpot).
This approach enables businesses to make their aggregated and transformed data actionable within their operational systems.
Reverse ETL common use cases
- Aggregating data: Collecting and consolidating data from various sources, then pushing it back into the source systems for analysis or reporting.
- Pushing calculations and metrics: Transferring calculated metrics or customer scores back into source applications to trigger workflows, marketing tasks, or campaigns.
Example use case:
Aggregating data and creating journal entries in NetSuite
In this example, we’ll walk through how to aggregate data and create journal entries in NetSuite using reverse ETL. This process involves setting up data flows to collect and aggregate data from CSV files and then pushing the aggregated data into NetSuite as journal entries.
Step 1: Set up data flow to aggregate data
Grabbing CSV files from an FTP server
First, we’ll set up a flow to grab CSV files from an FTP server. These files are provided daily by a vendor and contain the transaction data we need.
- Source: FTP server where a vendor dumps CSV files daily.
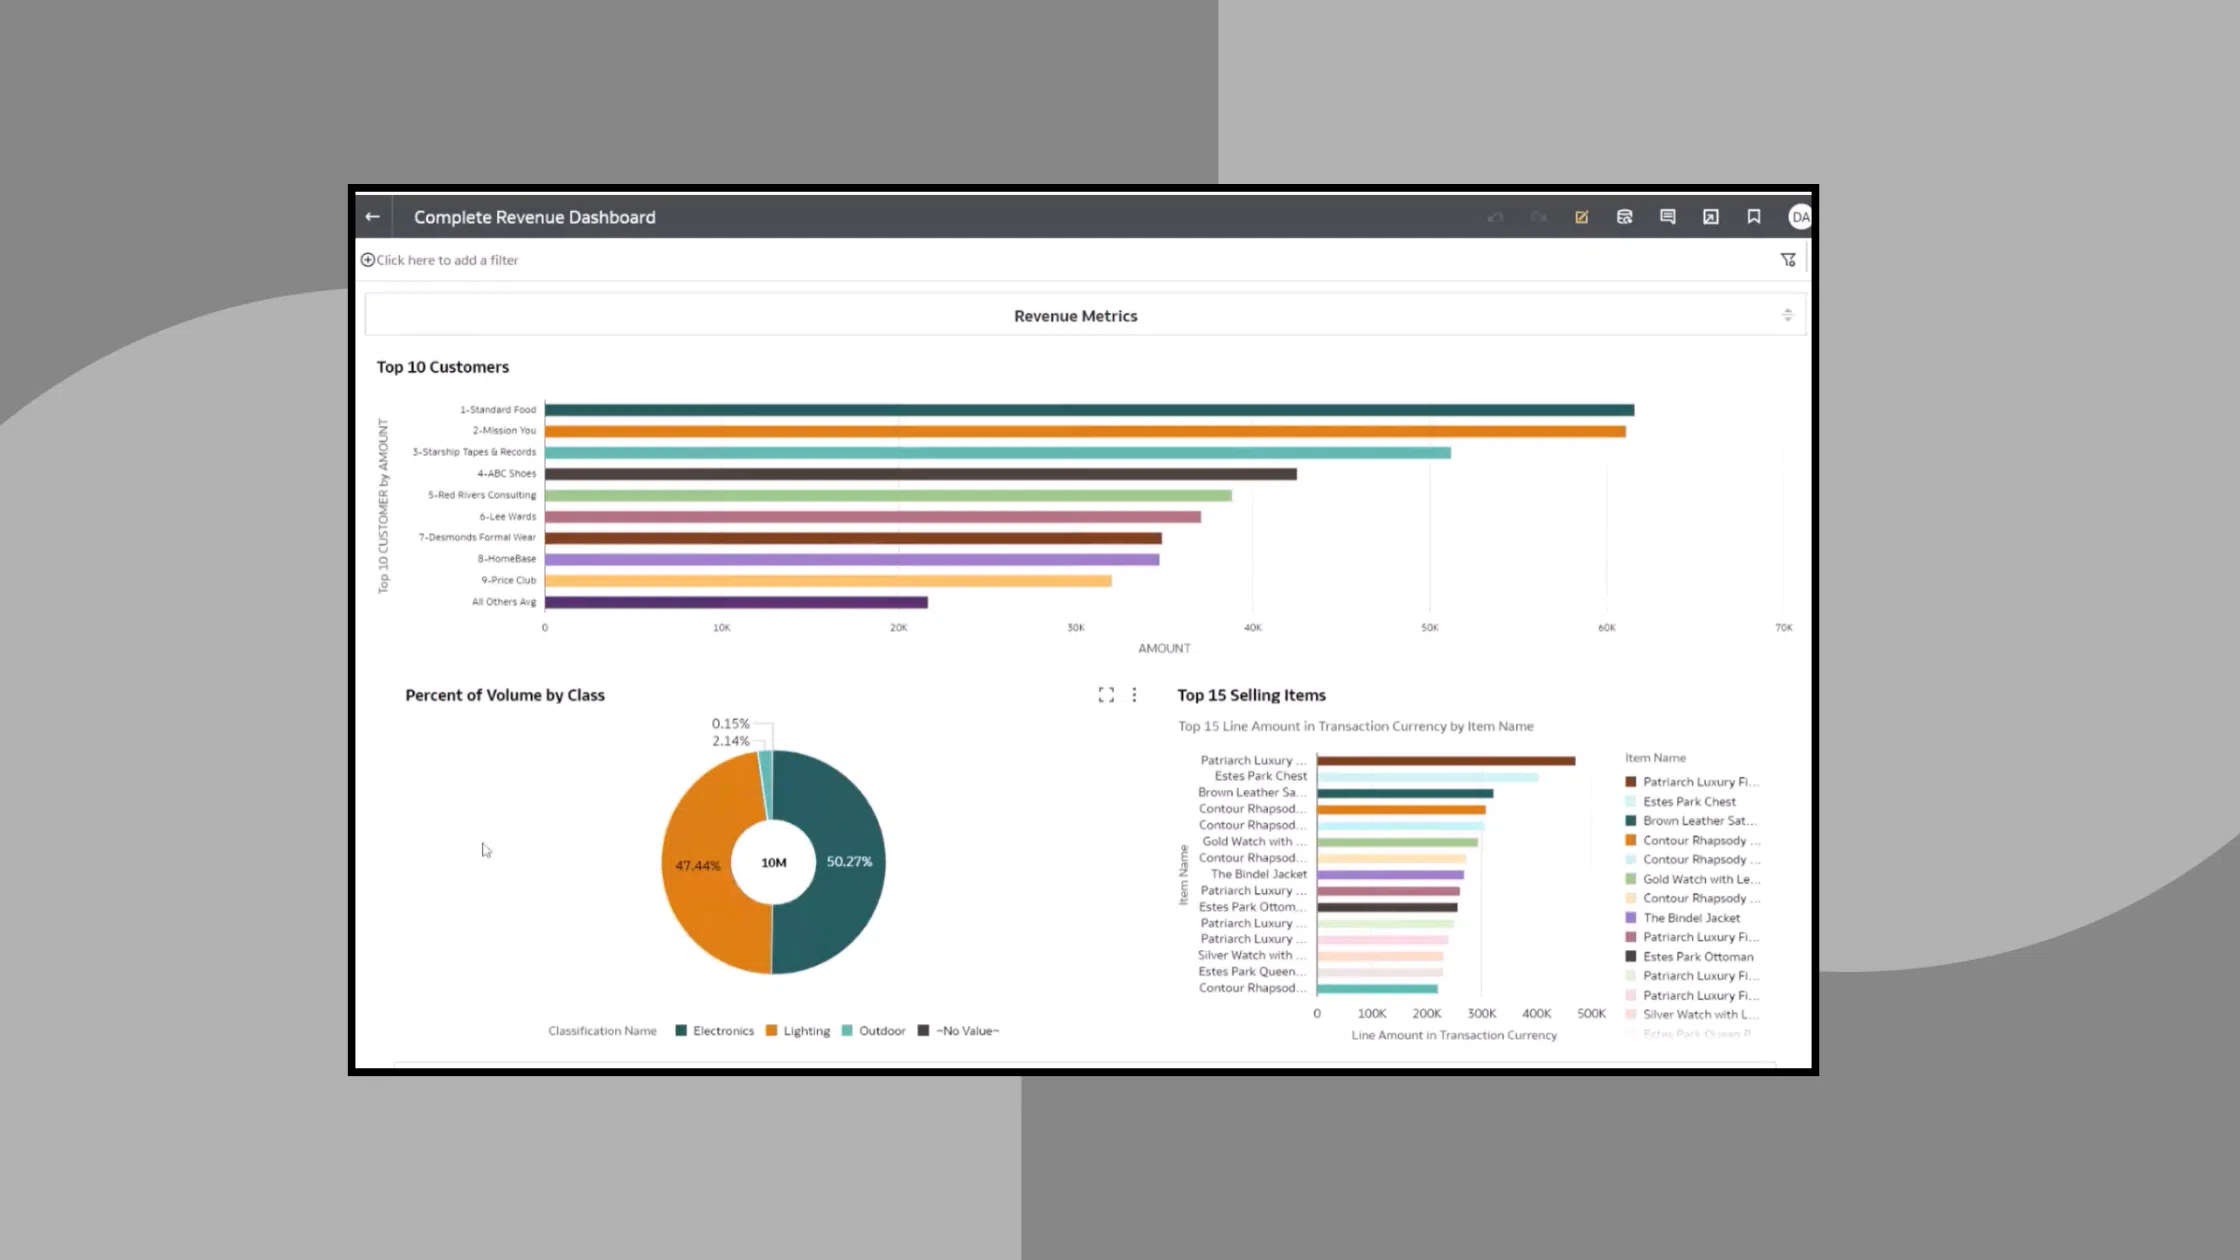
- Action: Run a flow once a day to grab these CSV files and load them into your data warehouse (e.g., NSAW).
Configuring the FTP flow
Configure the flow to handle the CSV files correctly:
- File type: CSV (comma-separated, row delimiter).
- Parsing strategy: Customize as needed for your data.
- Directory: Specify the directory path (e.g., title_that_part_or_BP).
- Filtering: Add conditions if necessary (e.g., file name or metadata).
- Post-processing: Typically, leave the file on the server and back it up for review.
Previewing data
Before moving on, preview the data to ensure it’s being collected correctly:
- Preview data: Check the sample data for transaction IDs, dates, customers, and other necessary details for future journal entries.
Step 2: Load data into NSAW
Insert data into NSAW table
Next, we load the collected data into an NSAW table for processing.
- Target table: NSAW table (e.g., demo_sales_detail).
- Action: Bulk insert all records.
- Mapping: Create a one-to-one mapping based on your table structure (e.g., transaction ID, date).
Trigger second flow
Once the data is in NSAW, trigger a second flow to aggregate the records and push them to NetSuite.
- Action: After the first flow runs, trigger the second flow to aggregate records and push them to NetSuite.
Step 3: Aggregate data and push to NetSuite
Pull data from NSAW
Aggregate the data from NSAW and prepare it for insertion into NetSuite.
- SQL query: Select data from a view in NSAW, ensuring no duplicates.
- Preview data: Check the output for debits, credits, accounts, and transaction dates needed for journal entries.
Create journal entries in NetSuite
Create journal entries in NetSuite based on the aggregated data.
- Step: Choose the journal entry creation process in NetSuite.
- Duplication check: Implement checkpoints to avoid duplicate entries.
- Field mapping: Map fields (e.g., subsidiary, currency, debits, credits) to create journal entries.
- Response mapping: Map the journal entry ID back into your data.
- Logging: Log the successful creation of journal entries to avoid reprocessing.
Finalize the process
Finalize the process by ensuring that the data is correctly logged and mapped.
- Destination table: Process sales detail table.
- Mapping: Map transaction ID, date, and external ID to the table.
Optimize data workflows with Reverse ETL
Dive deeper into the reverse-ETL process and see a live demonstration of Celigo’s platform with our on-demand webinar.
And don’t miss our next webinar, “Fusing AI and SQL based databases: Slack-based, data-driven innovation,” on August 14th.