Published Feb 6, 2025
Real-time integration: How to create webhook flows


Celigo’s iPaaS platform offers users various ways to trigger integration flows. In contrast to flows that can be set to run on a user-specific schedule, real-time flows use Webhook listeners to run the flow in response to specific events in your applications.
Real-time flows allow immediate response time for events featuring time-sensitive data. Because of their responsiveness and immediacy, webhook flows may be best suited for many time-sensitive business use cases, such as:
- Lead handoff: In response to a prospect reaching a specific stage or showing interest by submitting a targeted form, Marketing will hand lead information to Sales for follow-up. A webhook flow can immediately trigger the transfer of lead data to Salesforce or a shared Slack channel when the prospect meets the criteria, ensuring Sales can act on the lead without delay.
- Order management: Order management encompasses tracking and processing customer orders, from placement to fulfillment. Using a webhook flow, changes in order status can instantly trigger inventory updates, invoice compilation, and more, ensuring faster order fulfillment and fewer delays in the system.
- Shipping updates: This process involves providing customers with real-time information about the status of their shipments. A webhook can send automatic, real-time shipping notifications to customers as soon as updates are available, improving transparency and customer satisfaction.
- Support ticketing: Support ticketing involves managing customer issues and requests submitted through a helpdesk or support portal. A webhook can automatically create or update support tickets in real-time, and even handle assignments as soon as the ticket is submitted, ensuring quick responses and faster resolution of customer problems.
- Transaction flagging: This process involves monitoring transactions for anomalies, such as fraud or unusual behavior. A webhook can instantly flag transactions for review when they meet pre-defined criteria, helping mitigate fraud risks and improve response time.
Here, we’ll build a webhook flow in the platform using two flows: one centered around Salesforce and another for HubSpot. These flows will examine a simple lead handoff process.
Webhook demo
The configuration screen for a webhook may look different between the two applications, but the idea is the same. Understanding the webhook export configuration screen and navigating your source application allows you to build real-time flows easily.
Events in your daily business that require the completion of a time-sensitive process in response can be condensed into an integration, ensuring a predictable, satisfactory, and quick process every time.
HubSpot webhook

The above flow uses a webhook (also known as a real-time listener) to gather lead information. A lead’s information is recorded when they express interest by filling out a marketing form. Once the form is filled out, a Contact record in HubSpot is created to represent the lead. The creation of a contact triggers the flow to run.
Next, we use a lookup to gather the Contact’s information and pass that along to the final step. In the final step, the details of the Lead are posted to a Slack channel shared between Sales and Marketing. In real-time, the Sales team is alerted to the acquisition of a new lead and can follow-up accordingly.

Above is the webhook created in HubSpot. Notice the subscription type is “contact.creation” and the event is “Created.” Whenever a contact is created, this webhook will run.
To learn more about how we can loop the platform into these events, let’s build the first flow step from scratch.
Creating a webhook export
When creating a new export, you’ll have a few options for how the step will export its information to the rest of the flow. In HubSpot’s case, we can export records from our application or “Listen for real-time data.”
When you see this “Listen for real-time data” option, this indicates the application offers webhook functionality that the platform can leverage.

Once you’ve selected this option and hit ‘Next’, the calendar icon for scheduling options in the top right corner of the flow builder screen will disappear. Since a webhook responds to events to decide when it runs, no scheduling is needed.
Next, we’ll move on to the form used to configure the webhook listener.
Webhook configuration
Like any flow step, creating a webhook listener export involves a form that guides you through what information is needed or must be used to finish properly configuring the step.

Aside from a name and description, there are a few vital aspects you will likely see across webhooks for many applications.
Key (secret)
Many applications associate a secret key with each webhook created by the user to ensure the authenticity and security of data transmitted. This involves going to the source application and looking for the secret key, then pasting that key here.
Every application may have a different process for accessing this secret key, so it’s important to be familiar with your source application and read the documentation if finding this secret is difficult. However, not every application uses this approach, as we’ll see in our second example.
In HubSpot, this key is found in the private app we created that acts as a webhook for this flow.

Configure response for challenge requests
Some apps will further authenticate your request to receive information from a webhook using a ‘Challenge Request.’ You can think of this as a special test for your webhook: a ‘challenge’ is issued, and if the app requesting data from the webhook answers incorrectly, it fails and does not receive the data.
This option frequently does not need to be touched by the user and did not in this flow. However, for users who do have special requirements around challenge requests, you have the option to configure your response.
Public URL
Unlike the secret that you retrieved from the source application, this link is something you supply to the source application. This link, generated by the platform, is where your application will send real-time data.
Now, when information is posted to this link, the webhook listener will notice this request, run the flow, and send along the data retrieved from the application.
We’ve successfully finished creating a webhook export by supplying the key/secret to this connected flow step and giving HubSpot a link from the platform to send its real-time data.
Whatever else we do in this flow following this step will run immediately after the events specified in the HubSpot webhook occur. Pretty powerful, I know!
However, no two business applications are the same, as most people reading this (perhaps painstakingly) already know. As such, not every application handles their webhooks the same.
To demonstrate how the platform simplifies these differences and guides you through varied processes, we’ll take a quick look at a recreation of this flow using Salesforce.
Salesforce webhook

This flow accomplishes the same goal as the first, only with Salesforce. Let’s take a closer look at the webhook listener export step and see how Salesforce webhooks are handled in the platform.

You can see that the options here differ from those for HubSpot.
sObject type
Specify the sObject (Salesforce Object; the record type) to which you want the Webhook listener to pay attention. The object selected for this flow was “Contact.”
Required trigger
Salesforce uses a special function-like syntax for “triggers,” which determines how and when the trigger responds.
Depending on your selected record, the platform will help you start by generating a simple trigger template you’ll supply to Salesforce. You can modify this template to be more advanced, but if you need to know when a record is created or updated, this is all you’ll need.

Referenced fields
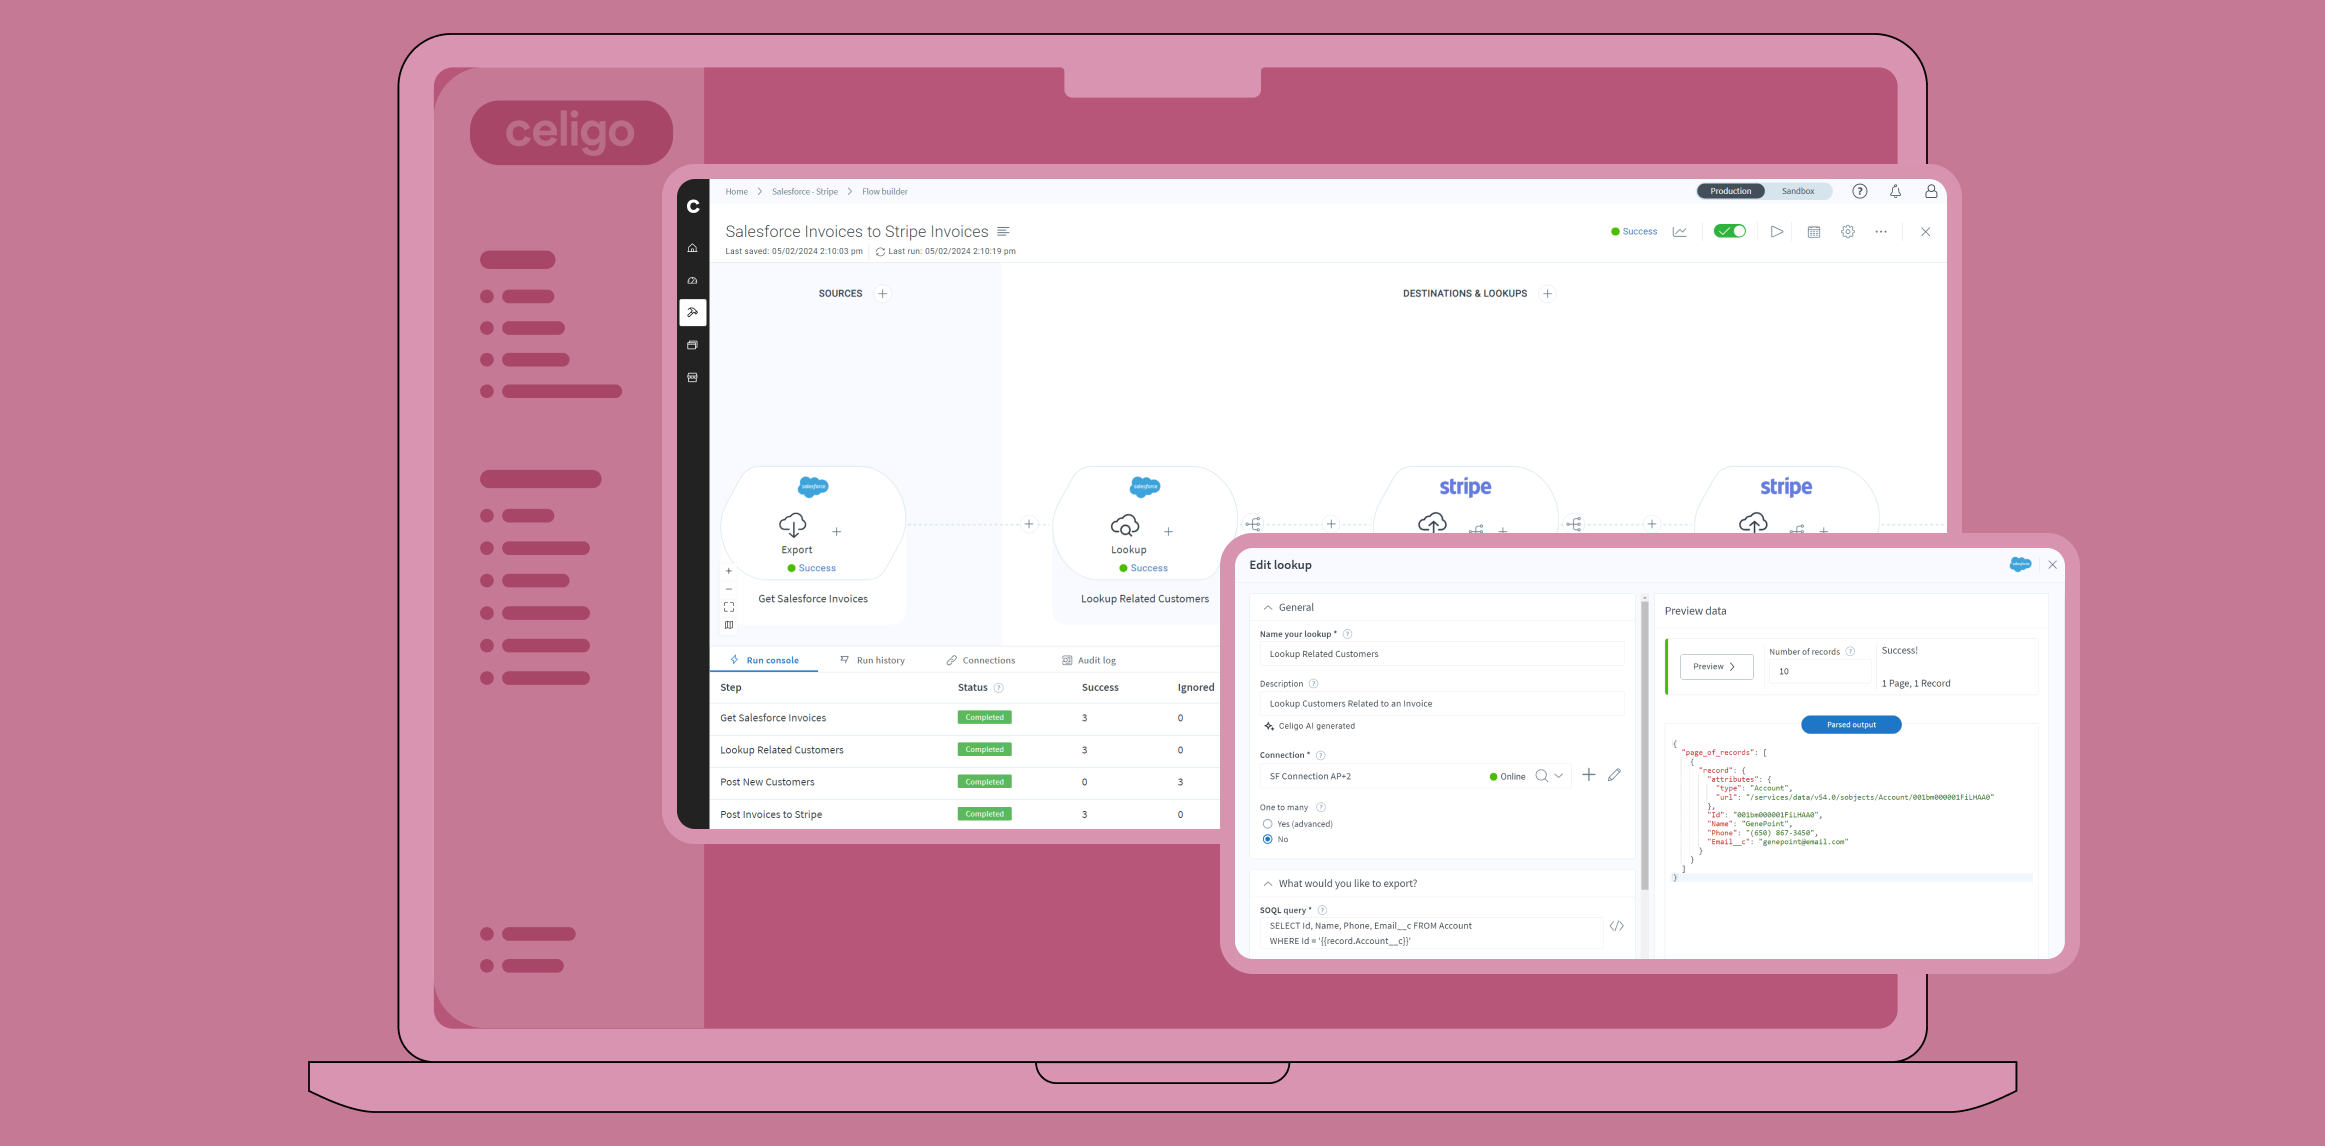
According to the help bubble, we can add lookup fields to our returned data. In HubSpot’s case, we only got the id of the new contact from our webhook, requiring us to use a lookup step to get the plain data like name, phone number, email, etc.
In Salesforce’s case, all this information is immediately returned from the record that triggers this webhook. However, since an account is a parent of a contact record, we could add account details to be returned here, such as the account’s address or name.
Since we immediately get all the information about the record that triggered our webhook from this step, Salesforce webhooks have one more feature that’s very nice to have.

Salesforce Webhooks also have a built-in filter to define conditions for your webhook. In this example, we ensured this webhook will only send along new Contacts created for a specific company, giving us a more granular approach with a simple webhook.
Once again, we’ve successfully configured another webhook by filling in a few simple fields and getting things squared away on our source application.
Even though Salesforce handles webhook functionality differently than HubSpot, the platform guides us through the details needed and changes that need to be made in our source application to get set up. Hopefully, this has shown you that building webhooks from the platform is simple, especially if you know your source application well.
Webhooks are powerful tools that enable your integrations to respond in real-time to urgent events. The setup process is often not too difficult either; follow the steps on the platform and know your source application.
When you find yourself tasked with a process that requires a time-sensitive response, consider a webhook!
Integration insights
Expand your knowledge on all things integration and automation. Discover expert guidance, tips, and best practices with these resources.